
You’ve set your slow cooker hours ago, and now you’re hovering over it, peering through the lid. Nothing stirs in the stew—no bubbles, no movement, just still liquid. Panic sets in: Is it even working? Or maybe the opposite happens—your pot churns violently, threatening to turn tender chuck roast into overcooked mush. These bubbling mysteries plague slow cooker users daily, but the truth is simple: your slow cooker should bubble, but only gently. Think of it like a sleeping dragon—occasional small puffs of steam, not constant roaring flames. Getting this balance right isn’t just about perfect texture; it’s critical for food safety and avoiding ruined meals.
Most home cooks mistakenly equate bubbling with proper function, but aggressive boiling actually signals danger. When your slow cooker operates correctly, it maintains a precise temperature range that kills bacteria while preserving texture. The ceramic insert creates a heat gradient—hottest at the bottom where bubbles form, coolest at the surface—allowing ingredients to cook evenly over hours. Understanding these subtle bubbling patterns transforms you from an anxious lid-lifter into a confident slow-cooking expert who never serves underdone chicken or mushy vegetables again.
Spotting the Perfect Simmer for Each Setting

Low Setting: The One-Bubble Rule
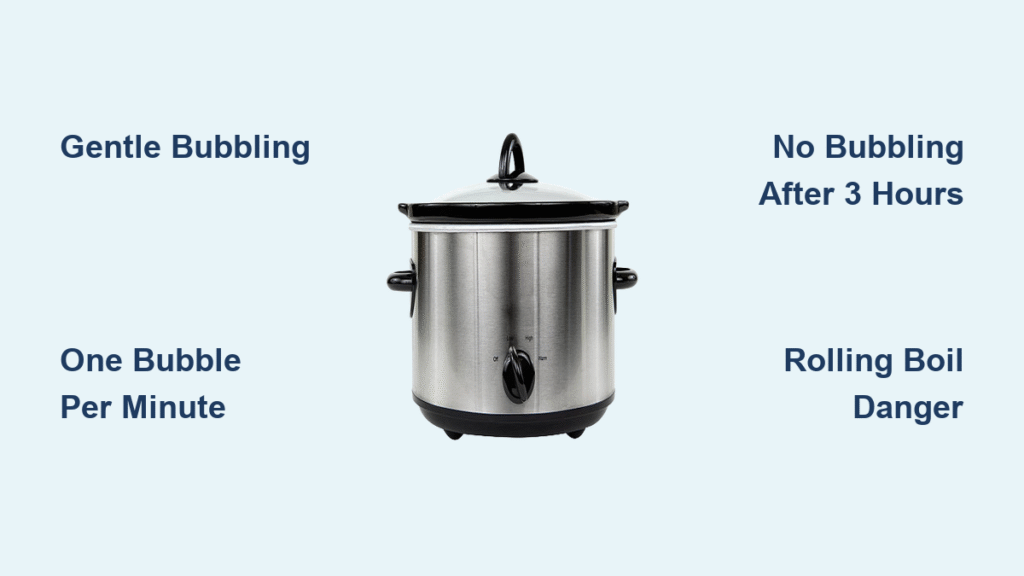
On Low, your slow cooker should produce exactly one or two gentle bubbles per minute. These appear as small, lazy circles breaking the surface near the edges or center—not a constant stream. This indicates your liquid maintains a bare simmer at 170–200°F, hot enough to safely cook food for 8+ hours but gentle enough to keep meat tender and vegetables intact. If you see no bubbles after three hours, your unit may be underpowered. Conversely, if bubbles rise rapidly like a boiling pot, your appliance is running dangerously hot and likely defective.
High Setting: Controlled Vigor Without Rolling Boils
When switched to High, expect 4-6 bubbles per minute—slightly more active but never a rolling boil. The liquid should reach 200–210°F, creating a brisk simmer that cuts cooking time by 30-50% compared to Low. Watch for this telltale sign: bubbles rise steadily but immediately collapse upon reaching the surface. If your stew resembles a volcano eruption with bubbles breaking continuously across the entire surface, your slow cooker is malfunctioning. This excessive heat destroys texture and wastes energy—your appliance shouldn’t sound like a stovetop pasta pot.
Warm Setting: Absolute Stillness Required
The Warm setting should show zero bubbling activity. This function merely maintains temperature (typically 145–165°F) after cooking completes, preventing bacterial growth without further cooking. If you see even occasional bubbles on Warm, unplug immediately—this indicates a serious thermostat failure. Food left in this state risks entering the danger zone (40–140°F) where bacteria multiply rapidly. Always verify Warm mode by checking for complete stillness; any movement means your unit needs replacement.
Why Your Slow Cooker Bubbles (It’s Not a Thermostat)
Power Levels, Not Temperature Controls
Unlike ovens, slow cookers lack internal thermostats. “Low” and “High” are simply power settings: Low uses one heating element continuously, while High activates a second element for increased wattage. The ceramic insert diffuses heat from the metal band, creating a critical temperature gradient. Bottom layers reach actual boiling (212°F), generating bubbles that cool slightly as they rise. This explains why surface liquid appears calm while bubbles form below—it’s working exactly as designed when you see intermittent activity.
The Physics of Safe, Gentle Cooking
Your slow cooker stabilizes liquid just below boiling point (195–207°F depending on altitude). Only the bottom layer boils, creating those signature lazy bubbles that signal safe cooking. This equilibrium prevents scorching while ensuring food stays above 140°F—the minimum safe temperature to kill pathogens. If bubbles stop completely before the 3-hour mark, your unit can’t maintain this crucial threshold. Remember: no bubbling after 4 hours means your chicken or pork may be dangerously undercooked, regardless of recipe timing.
Instant Bubble Diagnostic Tests You Can Do Today
:max_bytes(150000):strip_icc()/__opt__aboutcom__coeus__resources__content_migration__serious_eats__seriouseats.com__images__2016__10__20161020-slow-cooker-pressure-cooker-dutch-oven-14-1500x1125-da38bc72fa644b3c8115b443c0e5b28b.jpg)
The 3-Hour Water Test
After running your slow cooker for three hours on Low with plain water:
– ✅ Correct: 1-2 bubbles/minute with gentle steam
– 🔥 Too Hot: Constant vigorous bubbling, rapid steam loss
– ❄️ Too Cool: No bubbles, lukewarm liquid (below 190°F)
Use an instant-read thermometer for confirmation—water should read 190–200°F on Low. If it’s below 185°F, discard the contents; your appliance can’t reach safe temperatures. Budget models often fail this test, putting your family at risk.
Reading Food Texture Clues
Your ingredients reveal temperature issues faster than any gadget:
– Undercooked meat (tough, pink centers) → Unit runs too cool
– Mushy carrots in 4 hours → Unit runs too hot
– Perfectly tender ribs after 8 hours → Temperature spot-on
Note that beans and root vegetables absorb more heat, creating localized bubbling. If only one area bubbles, stir gently once during cooking—this redistributes heat without disrupting the simmer.
Critical Bubble Problems That Demand Action
Rolling Boil on Low Setting: A Safety Hazard
Vigorous, constant bubbling on Low means liquid exceeds 205°F—hot enough to scorch food and create fire risks. Common in bargain brands like early Ronson models, this defect wastes energy and ruins meals. Unplug immediately if you see this. Test with 4 quarts of water: if it reaches 212°F on Low, replace the unit. Never attempt to “fix” this by reducing cooking time—it compromises food safety.
Zero Bubbles After 4 Hours: The Danger Zone
No bubbling after four hours signals insufficient heating. Food remains in the bacterial danger zone (40–140°F), risking foodborne illness. Perform this emergency test: fill with 4 quarts water, run 3 hours on High. If temperature stays below 190°F, do not use for cooking. Cheap units with underpowered elements (<150 watts) often cause this—invest in a reliable model like the Crock-Pot SCCPVL610-S instead.
Heavy Condensation Without Bubbling: Quick Fix
When condensation pools on the lid but liquid stays still, your seal is too tight or contents are overly thick. This traps steam without allowing proper circulation. Crack the lid 5mm to release pressure, or add ½ cup broth to thin sauces. Never force bubbling with excessive liquid—it dilutes flavors. This issue commonly occurs with bean dishes; layer dense vegetables at the bottom to improve heat distribution.
First-Time Use Protocol to Prevent Failures
Mandatory Burn-In Cycle Before Cooking
Before adding ingredients, run this essential preparation:
1. Fill ceramic insert with plain water to ¾ capacity
2. Run on High for 2 full hours (watch for gentle bubbling)
3. Discard water—this removes manufacturing residues causing off-odors
4. Wipe thoroughly with vinegar solution to neutralize odors
Skipping this step risks chemical-tasting food and inconsistent bubbling. Budget units often require 2-3 burn-in cycles to stabilize. Always verify proper bubbling during this test—it establishes your appliance’s baseline behavior.
Proven Fixes for Bubbling Emergencies
No Bubbles? Follow This Rescue Sequence
- Confirm power: Test the outlet with another appliance
- Check heating: Exterior should feel warm (not hot) after 30 minutes
- Verify liquid minimum: Add 1 cup water if below 1-inch depth
- Adjust lid position: Slightly offset if sealed too tightly
- Temperature test: Insert thermometer after 3 hours
If still no bubbles, replace the unit—underpowered slow cookers can’t maintain safe temperatures.
Taming Overactive Bubbling
- Place a folded towel under the insert to buffer heat transfer
- Reduce liquid volume by 25% in recipes (thicker = less bubbling)
- Switch to a reliable model like Argos 6-quart (model 798252)
- For critical recipes: Add a PID controller set to 195°F for Low
Never leave an over-boiling slow cooker unattended—it risks electrical failure and kitchen fires.
Model-Specific Performance You Can Trust

Top-Rated Units for Perfect Simmering
- Argos 6-quart (798252): Consistent 195°F Low / 205°F High
- Crock-Pot SCCPVL610-S: Steady 199°F Low / 206°F High
- Hamilton Beach Set & Forget: Reliable 197°F Low / 208°F High
These maintain the ideal “one-bubble” rhythm on Low without boiling over. User tests confirm they deliver perfect texture in 8-hour roasts.
Avoid These Defective Models
Early Ronson units and bargain brands frequently hit 212°F on Low, creating constant boiling that destroys food texture. If your unit boils vigorously on Low (bubbles breaking across entire surface), replace it immediately—no “fix” makes these safe for all-day cooking.
Pro Tips for Bubble-Perfect Results Every Time
Liquid Ratios for Foolproof Simmering
- Soups/stews: Liquid must cover solids by ½ inch (prevents scorching)
- Roasts: Minimum ¼ cup liquid—to generate essential steam
- Beans: Add extra ½ cup liquid—absorbs heat during long cooks
Too little liquid causes dangerous dry spots; too much dilutes flavors and increases bubbling.
High-Altitude Adjustments
Above 3,000 feet, water boils at lower temperatures (202°F at 5,000 ft), causing excessive bubbling. Reduce cooking time by 15% and check food 1 hour early. You’ll see more active bubbling, but texture remains protected.
Strategic Ingredient Layering
Place dense vegetables (potatoes, carrots) at the bottom—they absorb excess heat and create localized bubbling that protects delicate ingredients above. Always position meats above vegetables for even cooking without over-bubbling.
Monthly Maintenance for Reliable Bubbling
Deep Clean to Prevent Mineral Buildup
Mineral deposits from water insulate the ceramic, disrupting heat transfer and bubbling patterns:
1. Fill with equal parts water and white vinegar
2. Run on High 1 hour (watch for gentle bubbling)
3. Cool completely, then scrub with non-abrasive sponge
4. Rinse thoroughly and air-dry
Skip this, and your slow cooker will gradually lose bubbling consistency as mineral layers thicken.
Correct Storage to Maintain Seal Integrity
Store with lid slightly ajar (use a folded paper towel as spacer). This prevents moisture trapping that warps the silicone seal over time. A compromised seal causes uneven bubbling—either excessive activity or dangerous stillness. Check seals monthly for cracks or stiffness.
Bottom line: Your slow cooker must bubble gently—one or two lazy bubbles per minute on Low, slightly more on High—to operate safely and effectively. Zero activity after 3 hours means replace it immediately; constant boiling indicates a hazardous defect. Master these bubbling signals, and you’ll never serve undercooked chicken or mushy vegetables again. For persistent issues, invest in a reliable model like the Crock-Pot SCCPVL610-S—your meals (and safety) depend on it.


