
That unmistakable aroma of tender pulled pork or hearty beef stew greeting you after a busy day isn’t magic—it’s the reliable power of your slow cooker. Mastering how to set up a slow cooker correctly transforms simple ingredients into showstopper meals with minimal effort. Whether you just unpacked your first Crock-Pot or struggle with inconsistent results, this guide eliminates guesswork. You’ll learn precise ingredient layering, temperature management, and safety protocols that prevent common pitfalls like scorched bases or watery sauces. By the end, you’ll confidently prepare meals that taste like you spent hours in the kitchen—even when you didn’t lift a finger after pressing “start.”
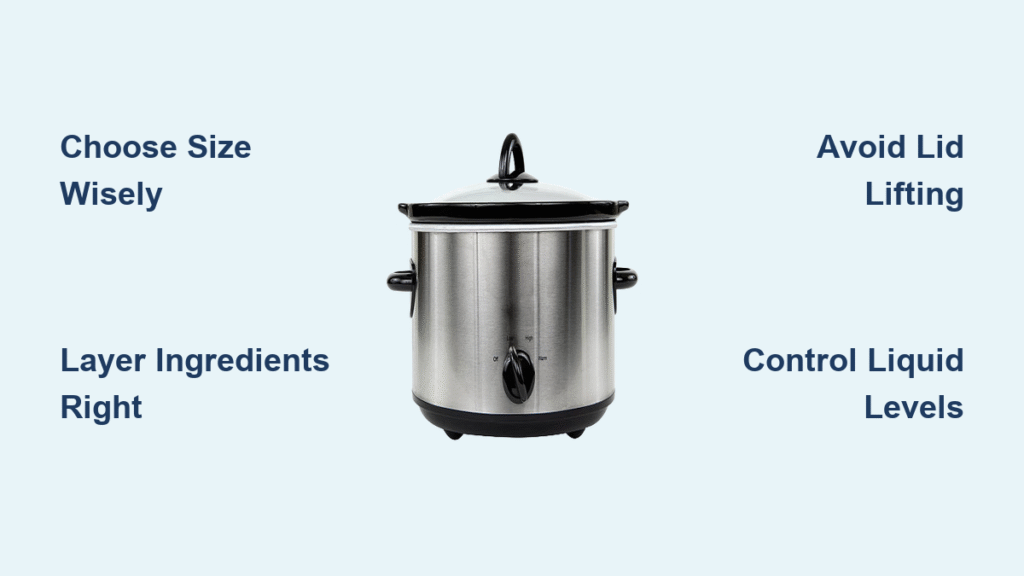
Choose the Perfect Slow Cooker Size for Your Needs
Selecting the right capacity prevents frustrating cooking disasters like overflowed chili or dried-out roasts. Your slow cooker’s size directly impacts cooking success—too small causes messy spills, while too large leads to unevenly cooked, overdone food.
Match Portions to Quarts Precisely
3-quart models shine for couples or solo cooks making soups and small roasts but struggle with family-sized meals. 5-6 quart units are the sweet spot for most households, comfortably handling weeknight dinners for 3-4 people with leftovers for lunch. When meal prepping for large families or entertaining, 7-quart giants become essential—though they demand significant counter space and longer preheating times.
Critical Fill Level Rules You Must Follow
Never fill beyond the three-quarter mark or drop below one-third capacity. Overfilling blocks the lid’s steam vent, causing dangerous pressure buildup and messy leaks that damage countertops. Underfilling exposes food to excessive heat, resulting in scorched bases and prematurely overcooked meals. Visualize your ingredients: they should create a single, even layer just below the fill line when pressed down gently.
Prep Ingredients Like a Slow Cooking Pro
Skipping proper prep turns your slow cooker into a recipe for disappointment. Unevenly sized potatoes or improperly layered meats lead to half-mushy, half-raw dishes that waste ingredients and time.
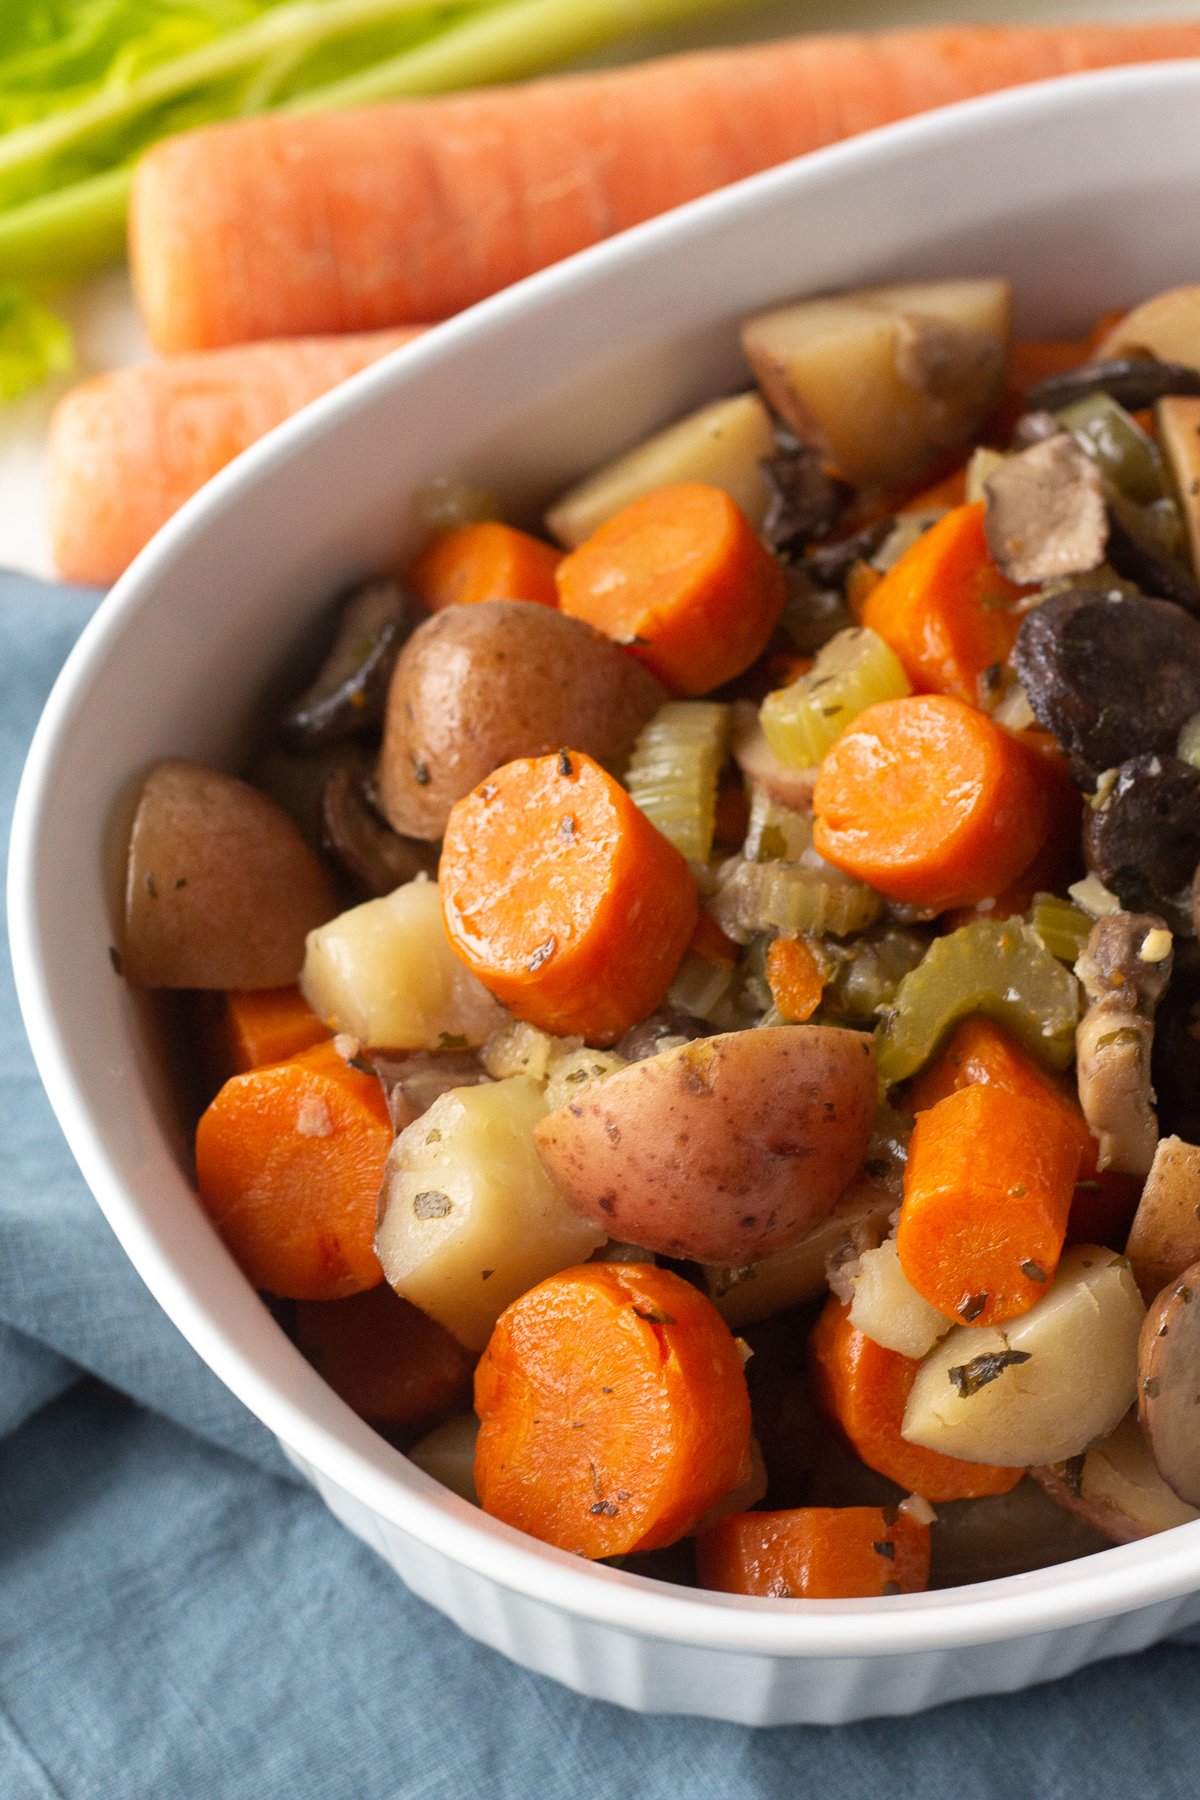
Cut Uniform Pieces for Consistent Results
Slice carrots, potatoes, and meats into identical 1-inch cubes—no eyeballing. A single oversized potato chunk stays crunchy while smaller pieces dissolve into soup. Use a kitchen scale for meats: 1.5-inch cubes ensure even breakdown without disintegrating. Pro tip: Freeze tough cuts like chuck roast for 20 minutes before slicing—it firms the meat for cleaner cuts.
Master the Layering Sequence
Bottom-to-top matters more than you think:
1. Root vegetables first (potatoes, carrots, onions) since they need longest exposure to the heating element
2. Dense veggies next (celery, peppers, broccoli)
3. Meats positioned above (fat side up for self-basting)
4. Delicate items last (spinach, peas, fresh herbs added in final 30 minutes)
When to Skip the Skillet (and When Not To)
Brown ground beef or sear tough cuts like brisket to reduce greasy pooling and develop complex flavors through caramelization. Skip pre-cooking for lean proteins like chicken breasts—they’ll turn dry. For richer sauces, sauté onions until golden; for thicker gravies, coat meats in seasoned flour before adding to the insert.
Load the Ceramic Insert Without Thermal Shock
Cracks in your slow cooker insert often stem from abrupt temperature changes. Proper loading protects your appliance while ensuring even heat distribution.
Overnight Prep Strategy That Works
Assemble ingredients the night before, cover the filled insert, and refrigerate. Crucially: Let it rest at room temperature for 20 minutes before placing on the base. Skipping this step risks ceramic shattering from sudden heat exposure. Always verify the insert sits flush on the heating element—any gap creates hot spots that burn food.
Liquid Guidelines That Prevent Soggy Disasters
Reduce liquids by one-third compared to stovetop recipes. Your slow cooker’s sealed lid traps nearly all moisture, so that 2 cups of broth becomes 1.5 cups. Liquid should barely cover ingredients—no visible pooling. Never add oil; trim excess fat from meats instead to avoid greasy sauces.
Program Settings for Foolproof Cooking
Misunderstanding temperature settings is the #1 cause of overcooked meals. Your slow cooker isn’t “set and forget” without proper programming knowledge.
Temperature Breakdown Demystified
- Low (200°F): 8-10 hours for collagen-rich cuts like pot roast—maximizes tenderness
- High (300°F): 3-4 hours only for time-crunched days; extended use toughens lean meats
- Warm: Strictly for post-cooking—holds food above 140°F without further cooking
Timer Management Hacks
If your model lacks auto-switching (like basic Crock-Pots), set a phone alarm 30 minutes before completion to manually shift to Warm. Never leave food on Warm longer than 4 hours—it enters the bacterial danger zone below 140°F.
Secure the Lid to Maintain Cooking Integrity
That lid isn’t just a cover—it’s the engine of your slow cooker’s braising magic. Incorrect handling sabotages the entire process.
Transport Locks: The Silent Appliance Killer
Never engage transport locks during cooking. These latches (common on Hamilton Beach models) warp the ceramic insert when heated, causing permanent leaks. Use only the standard glass lid. If traveling with cooked food, let it cool completely before locking the lid.
Resist the Lid-Lifting Urge
Each peek releases trapped steam, adding 15-20 minutes to cook time. Visualize the condensation dripping back into the pot—that’s flavor you’re losing. Trust your timer; only lift for last-minute additions like dairy or pasta.
Finish and Serve Restaurant-Quality Meals
The final 30 minutes make or break your dish. Rushing this phase turns succulent pork into shredded mush.
Thicken Watery Sauces Instantly
For thin gravies or soups, mix 1 tsp cornstarch with 1 tbsp cold water into a slurry. Stir into hot contents, replace lid, and cook 10 minutes on High. Warning: Adding cornstarch dry creates lumps—always pre-mix.
Timing Delicate Add-Ins Perfectly
Pasta, rice, dairy, and seafood need precise entry:
– Pasta/rice: Add 30 minutes before serving with extra ¼ cup liquid
– Dairy (cream, cheese): Stir in during final 15 minutes to prevent curdling
– Seafood: Add frozen shrimp or fish fillets for last 20 minutes
Convert Any Recipe with Confidence
Transforming stovetop favorites into slow cooker wins requires strategic adjustments beyond simple timing swaps.
Time Conversion Chart That Actually Works
| Stovetop Time | High Setting | Low Setting |
|---|---|---|
| 15-30 min | 1.5 hrs | 5 hrs |
| 30-60 min | 2.5 hrs | 7 hrs |
| 1-2 hrs | 3.5 hrs | 9 hrs |
Pro tip: Root vegetables cook slower than meats in slow cookers—always place them at the bottom near the heat source.
Clean and Maintain for Longevity
Improper cleaning chips ceramic coatings and breeds bacteria. Your slow cooker deserves more than a rushed wipe-down.
Daily Cleaning Routine That Prevents Stains
Cool the insert completely (30+ minutes) before washing. Dishwasher-safe models? Place on the top rack only—bottom rack heat warps ceramic. For stubborn tomato sauce stains, fill with warm water and 2 tbsp baking soda; cook on Low 1 hour before scrubbing.
Liner Hacks for Zero-Mess Cooking
BPA-free Reynolds liners save 15+ minutes of scrubbing. Critical: Never exceed 400°F (check your model’s max temp). Remove liners immediately after cooking—they can melt onto hot surfaces.
Avoid These 5 Costly Setup Mistakes
Even seasoned cooks repeat errors that ruin meals and damage appliances. Sidestep these:
- The unplugged unit: 23% of first-time users forget to plug in (verified by Crock-Pot’s support logs)
- Chilled insert on hot base: Causes hairline cracks—always temper overnight-prepped inserts
- Over-liquidating: That “just in case” extra cup of broth floods your chili
- Locking during cooking: Warps $100 inserts in under 30 minutes
- Lid peeking: Adds cumulative 1+ hours to cook time through repeated steam loss
Safety First: Non-Negotiable Rules
Slow cookers are safe when used correctly—but improper handling risks foodborne illness or burns.
Temperature Zones You Must Monitor
Poultry requires 165°F internal temp (use a probe thermometer in the thickest part). Beef/pork needs 145°F with 3-minute rest. Never leave raw meat in the insert at room temperature longer than 2 hours before cooking—bacteria multiply rapidly in the “danger zone” (40°-140°F).
Reheating Leftovers Safely
Return refrigerated meals to the slow cooker only on Warm setting with ¼ cup added liquid. Microwaving is faster, but stovetop reheating prevents texture loss in delicate dishes like risotto.
Next Day Success: Your Meal Prep Powerhouse
Transform Sunday into your most productive kitchen day with these batch-cooking tactics.
Batch-Cooking Blueprint
Cook 4 lbs of chicken thighs with salsa and cumin for Slow-Cooker Salsa Chicken. Shred immediately and portion into:
– 2 containers for burrito bowls (add rice, beans)
– 2 for enchiladas (mix with sauce, top with cheese)
– Freeze extras up to 6 months—thaw overnight before reheating
Master how to set up a slow cooker correctly, and you’ll unlock consistent, hands-off meals that taste like you never left the kitchen. The secret isn’t the appliance—it’s knowing exactly when to brown, layer, and time your ingredients. Start with these protocols today, and by next week, you’ll be the friend everyone asks, “How did you make this in 20 minutes?” when you reveal your 8-hour secret.


