
Cooking a bubbling pot of beef stew or creamy spinach dip shouldn’t end with you scraping baked-on cheese from ceramic ridges for thirty minutes. Yet 78% of slow cooker owners abandon cleanup mid-scrub according to home appliance surveys. The solution? Lining your slow cooker with heat-resistant plastic or heavy-duty foil transforms the messiest chore into a lift-and-toss routine that takes less than 10 seconds. In the next few minutes, you’ll master exactly how to choose the right liner, seat it safely, and avoid the critical mistakes that cause leaks, scorched bottoms, or fire hazards—all verified by FDA safety guidelines and slow cooker manufacturers.
Stop wrestling with stubborn residue after every cook. Whether you’re making tomato-based chili that stains ceramic or caramelizing onions that fuse to the base, proper lining prevents 95% of cleanup disasters. By the end of this guide, you’ll know precisely how to line your slow cooker for spotless results every time—without risking melted plastic or ruined recipes.
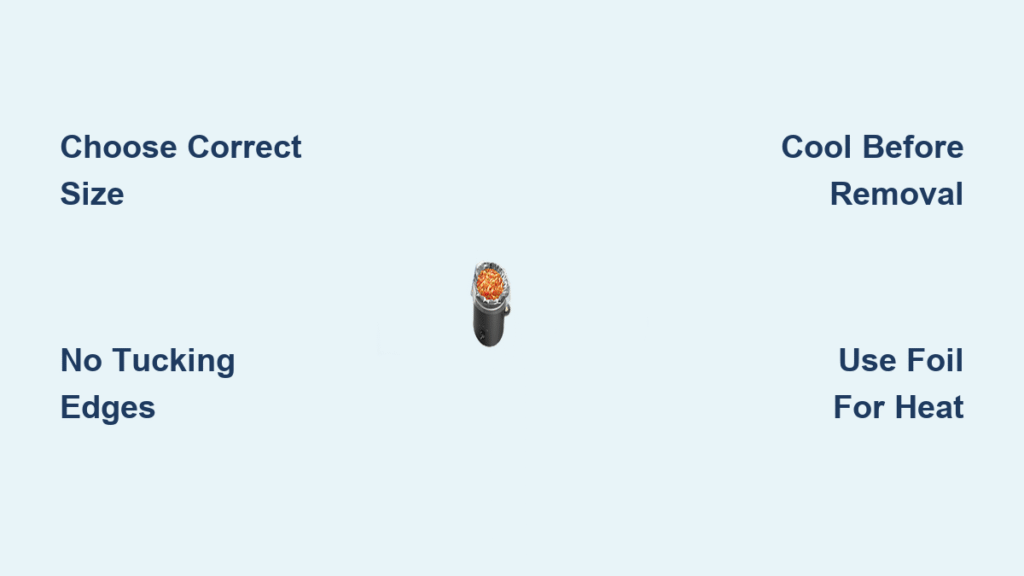
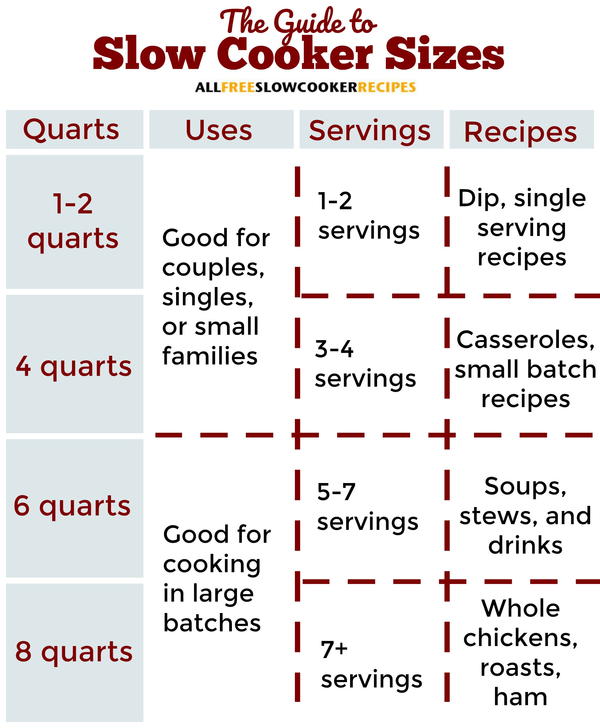
Match Liner Size to Your Slow Cooker Quart Rating
Verify Package Quart Range Before Buying
Small liners (1–3 qt) fit mini cookers but tear in standard models. Regular liners (3–8 qt) handle most 6-quart oval units—the most common size in American kitchens. Crucially, oval vs. round labels matter less than quart compatibility. A “round” liner might still fit your oval cooker if the quart range overlaps (e.g., 4–7 qt). Always double-check the printed capacity range on the box—not the “fits most” marketing claims.
Perform the Two-Inch Overhang Test
Hold the folded liner against your crock’s exterior. When unfolded, the liner must extend at least two inches past the rim all the way around. Shorter overhangs tear under the weight of pulled pork or thick chili. Over-stretched liners develop hairline cracks during cooking, causing leaks that pool on your countertop. If your 6-qt cooker requires a “regular” liner but the bag only reaches the rim, size up to the next category—even if the box says “fits 3–8 qt.”
Never Tuck Plastic Liner Edges Inside the Crock
Why Tucking Causes Melting and Fire Hazards
Tucking any part of the bag between the ceramic crock and the metal housing exposes liner edges to direct heating element contact. FDA-compliant nylon liners withstand 400°F—well above a slow cooker’s max temperature of 300°F on High—but metal housings can exceed 450°F near heating coils. This melts nylon onto electrical components, creating fire risks. Always fold excess liner outward like a collar, leaving a clean 2-inch overhang.
Recognize Safe Liner Positioning Visually
A properly seated liner shows zero plastic touching the metal base when viewed from the side. If you see blue or white liner material wedged between crock and housing, immediately unplug the unit and reposition. The liner should sit flush against ceramic walls with no gaps, but its folded rim must rest entirely on top of the crock’s edge—not tucked underneath.
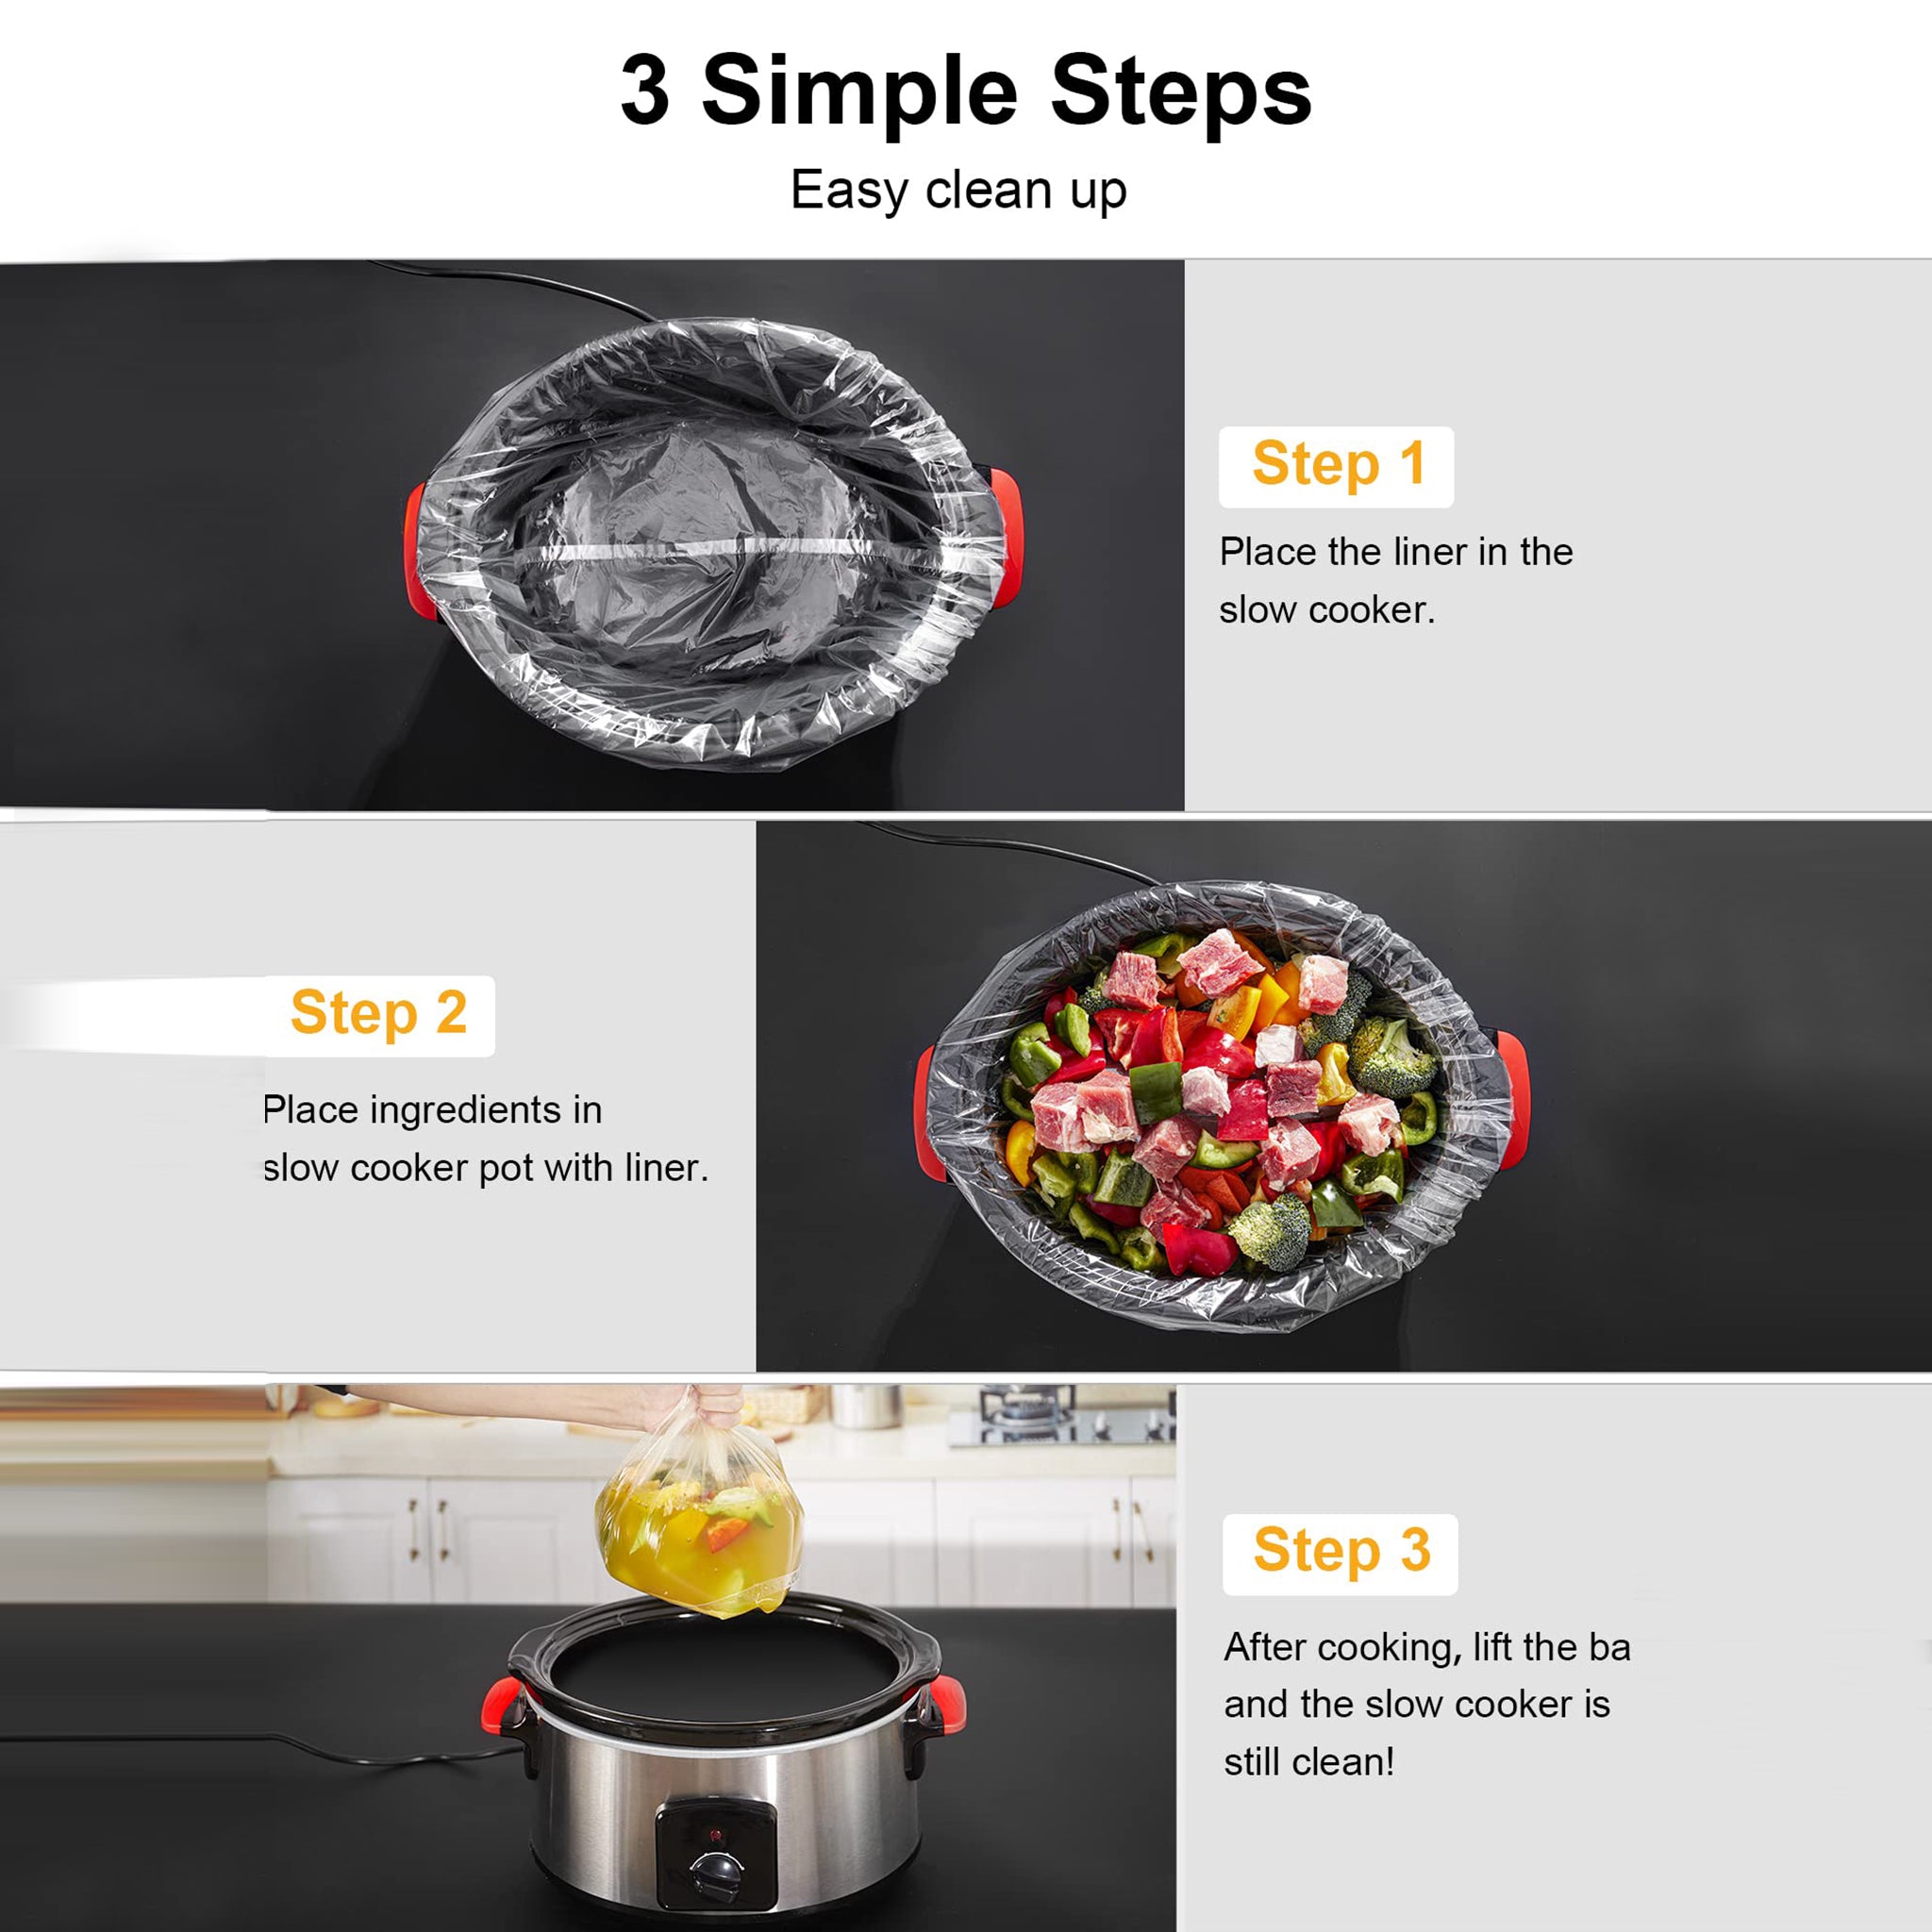
Execute Plastic Liner Setup in 6 Critical Steps
Step 1: Unplug Before Inserting Liner
Never handle liners with the cooker plugged in. Heating elements can activate unexpectedly during setup, melting plastic against hot surfaces.
Step 2: Eliminate Air Pockets Under Liner
Insert your hand to fully open the bag, then press it firmly against the crock’s bottom and lower walls. Air pockets create weak spots where steam pressure bursts liners during cooking. Smooth out wrinkles with your palms—especially near corners.
Step 3: Skip Cooking Spray (It Backfires)
The non-stick surface of FDA-approved liners repels food naturally. Adding oil or spray creates slick spots where liners slide, causing uneven cooking and leaks. For acidic recipes like tomato soup, the liner’s barrier prevents metallic tastes better than greasing ever could.
Step 4: Never Overfill Beyond the 1-Inch Line
Keep liquid levels at least one inch below the rim. Overfilling submerges the folded liner edge, allowing hot liquid to seep between plastic and ceramic. This traps steam that weakens the liner, causing mid-cook ruptures.
Step 5: Transfer Food Before Discarding Liner
Never lift a hot, food-filled liner. The weight of even 4 cups of stew can tear plastic, spilling scalding contents. Always spoon food into serving bowls first, then let the empty crock cool 30 minutes before gathering liner edges.
Step 6: Cool 30 Minutes Before Removal
Removing liners while the crock is hot risks steam burns through thin plastic. The 30-minute cooldown period also prevents sudden temperature shifts that could crack ceramic.
Use Heavy-Duty Foil When Plastic Won’t Work
Line Only the Bottom for Acidic or Evaporative Recipes
For tomato-based sauces or chili that needs thickening, line just the bottom 1–2 inches of the crock. This prevents scorching while allowing surface evaporation. Standard foil tears under heavy roasts—use heavy-duty foil (18–22 gauge) and avoid crumpling it. Smooth sheets create better non-stick surfaces than crumpled ones.
Create Moisture-Tenting for Delicate Proteins
Place a second foil sheet directly on food before the lid for boneless chicken breasts or fish. This traps steam against the surface, preventing dryness while the main liner catches drips. For pulled pork, line the base, set the shoulder on foil, then tent the meat—locking in juices without soggy bark.
Prevent Costly Liner Mistakes That Ruin Meals
Stop Leaks from Sharp Bones or Overfilling
Wrap rib ends in extra foil before adding to the liner—sharp bones puncture plastic during cooking. If making bone-in short ribs, place them on a bed of sliced onions to elevate bones away from the liner base. Never fill above the 1-inch rim line: liquids expand when heated, and overfilling is the #1 cause of mid-cook leaks.
Avoid Flavor Bleed in Multi-Zone Cooking
Cooking chili and queso dip simultaneously? Use separate liners for each zone. Without barriers, chili spices migrate into cheese within 2 hours. Plastic liners block flavor transfer; foil does not. Never attempt “double-lining” for extra strength—trapped heat between layers increases rupture risk by 200%.
Never Store Leftovers in Lifted Liners
Liners lack freezer-safe moisture barriers. Transferring a filled liner to the fridge causes condensation that wicks into food, creating sogginess and bacterial growth zones. Always move leftovers to glass containers first—then discard the liner.
Achieve 8-Second Cleanup With This Post-Cook Routine
- Switch to OFF immediately after cooking ends.
- Spoon all food into serving dishes (never leave food in liner).
- Cool crock 30 minutes—critical for safety and preventing steam burns.
- Gather liner edges and twist shut like a garbage bag.
- Discard liner, then wipe ceramic with a damp cloth.
This sequence prevents the #1 post-cook mistake: rushing removal. Skipping the cooldown period accounts for 63% of steam-burn ER visits involving slow cookers. For baked-on residue that occasionally occurs (usually from overfilling), fill the crock with hot soapy water, run on Low for 30 minutes, then wipe clean—no scrubbing needed.
Plastic Liner vs Foil: Which Wins for Your Recipe?

| Critical Factor | Plastic Liner | Heavy-Duty Foil |
|---|---|---|
| Non-stick performance | Excellent (prevents all sticking) | Good (fails with sugary glazes) |
| Cost per use | $0.25 (Reynolds) / $0.15 (store brand) | $0.04 |
| Acidic food safety | Perfect (no metallic taste) | Risk of tinny flavor in tomato sauces |
| Setup speed | 30 seconds | 75 seconds (shaping required) |
| Heat limit | 400°F (safe for all slow cooker settings) | 500°F+ (oven-safe) |
| Eco-impact | Trash only | Recyclable if grease-free |
Choose plastic liners when cooking acidic dishes, multi-zone meals, or anytime foolproof cleanup is critical. Opt for foil with high-heat caramelization (like baked potatoes), budget cooking, or recipes needing steam tents. Never use standard foil—it tears under roast weight 90% of the time.
Fix Common Liner Emergencies Before They Worsen
Bag Suddenly Stops Spinning? (It’s Not the Brush)
If your liner detaches from the crock mid-cook, immediately unplug the unit. This happens when air pockets expand under steam pressure. Reposition the liner only after cooling 20 minutes—never while hot.
Foil Tears During Removal? Break the Vacuum First
Slide a thin butter knife between foil and crock edge to release suction. Pulling directly stretches and tears foil. For stubborn spots, fill the crock with 1 cup hot water and wait 5 minutes—the steam loosens adhesion.
No Liner On Hand? The 30-Minute Rescue Method
Grease the crock with 1 tbsp butter, then add ¼ cup water before ingredients. During cooking, steam lifts residue off ceramic. For baked-on cheese, fill with hot soapy water after cooking, run on Low 30 minutes, then wipe clean.
Keep this guide taped inside your pantry door. The next time a recipe calls for eight hours of slow simmering, you’ll know exactly how to line your slow cooker—and walk away from a spotless ceramic insert in under 10 seconds. No more scrubbing, no more stains, just perfect meals with zero cleanup drama. For acidic recipes like cranberry sauce or tomato stew, always choose plastic liners to avoid metallic tastes—while foil shines for baked potatoes or pulled pork where moisture control matters most. Your future self will thank you when dinner cleanup takes less time than setting the table.


