
That unopened Rise rice cooker box sitting on your counter promises perfect grains with zero effort—yet so many home cooks end up with mushy disasters or crunchy-center disappointments. Whether you own the compact Rise 6-cup model or the large-capacity 10-cup version, hitting that sweet spot between tender and firm requires more than just pressing “Cook.” Without the right water ratios, cycle selections, and maintenance habits, even this smart appliance can’t deliver the fluffy results you crave.
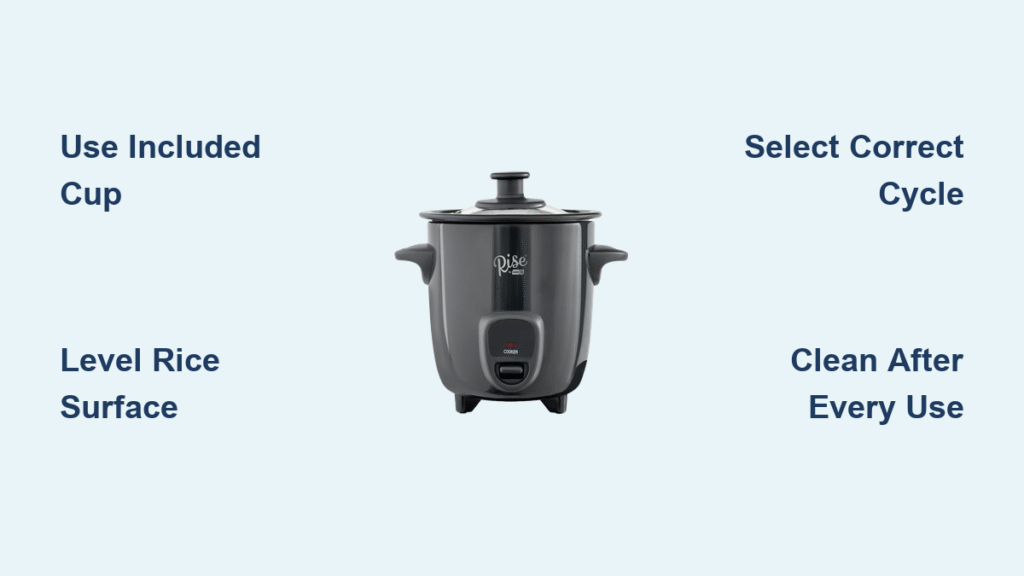
Mastering your Rise rice cooker transforms weeknight meals from stressful to seamless. In this guide, you’ll discover the exact techniques professional chefs use to achieve separate, glossy grains—like why the included measuring cup is non-negotiable, how to adjust settings for sushi-perfect stickiness, and the 5-minute cleaning habit that prevents burnt-bottom failures. No more guessing: just consistently perfect rice that makes your kitchen feel like a Michelin-starred kitchen.
Measure Rice and Water with Precision
Why Your Regular Measuring Cup Ruins Rice Texture
That small clear cup nestled in your Rise packaging isn’t just packaging filler—it’s your secret weapon for accuracy. Standard US cups hold 240ml, but the Rise cup measures precisely 180ml to sync with the inner pot’s water level markings. Using a regular cup floods your rice with 33% more liquid than intended, guaranteeing soggy, overcooked grains. Always rinse your Rise-measured rice in this cup until water runs mostly cloudy (not crystal clear), then add it to the pot. Skipping this step leaves excess surface starch that turns rice gluey during cooking.
Exact Water Ratios for Every Grain Type
White rice: Fill to the numbered line matching your cup count. For 3 cups of Rise-measured rice, water should hit the “3” mark.
Brown rice: Add 20% extra water—pour to the “3.6” line for 3 cups to soften tough bran layers without scorching.
Quinoa or wild rice blends: Use brown rice ratios plus 1 tbsp water per cup for optimal tenderness.
Pro tip: Reduce water by 2 tbsp per cup for jasmine or basmati to prevent mushiness while preserving fragrance. Never eyeball—those laser-etched lines exist for a reason.
Leveling Technique for Uniformly Cooked Grains
After adding rice and water, place the inner pot on a flat surface and gently swirl it in circular motions for 10 seconds. This distributes grains evenly so steam penetrates uniformly—critical for avoiding hard centers surrounded by mushy edges. Never stir after leveling; agitation releases starch that creates gummy rice. If your cooker has a “delay start” function, skip it for best results—soaking rice too long in standing water breaks down texture.
Select the Optimal Cooking Cycle for Your Grain
White Rice Button: The Gold Standard for 90% of Dishes
Press White Rice for long-grain white, jasmine, or basmati—it triggers a precise 25-minute cycle with controlled boiling and steaming phases. The magic happens when it auto-switches to Keep Warm after cooking, letting residual heat finish the job without overcooking. For sushi rice, add 1 tsp rice vinegar per cup after cooking during the keep-warm phase. Avoid opening the lid during cooking; escaping steam drops internal temperature and creates uneven results.
Brown Rice Setting: Unlock Nutty, Chewy Whole Grains
Choose Brown Rice for brown, red, or black varieties—it extends cooking to 45 minutes with lower initial heat to gently soften bran without burning. The cycle includes a critical 15-minute “rest phase” after boiling where steam penetrates grains slowly. For wild rice blends, add an extra 10 minutes using the “reheat” function if grains remain slightly firm. Warning: Never substitute the White Rice setting—high heat cracks bran layers, leaving crunchy centers.
Quick Cook: Fast Results with One Trade-Off
Quick Cook finishes white rice in 18 minutes using aggressive heat, ideal for last-minute meals. But expect slightly drier, less fluffy results since the rapid boil doesn’t fully develop starch structure. Reserve this for fried rice bases where firmer texture works in your favor. Never use it for sticky rice dishes—it lacks the gentle steaming needed for cohesive grains. Always add 1 extra tbsp water per cup to compensate for faster evaporation.
Steam Function: One-Pot Meals Without Extra Dishes
Stack the steaming tray over your rice with 1 cup water in the base, then select Steam + Rice. Place salmon fillets or dumplings on the tray—they’ll cook perfectly in 25 minutes while rice steams below. For vegetables, add broccoli or bok choy during the last 8 minutes to avoid sogginess. Pro move: Place a heatproof bowl on the tray to make custard or pudding while rice cooks.
Maintain Peak Performance with Smart Cleaning
Daily 5-Minute Rinse-and-Wipe Routine
Unplug immediately after cooking—submerging the base risks electrical damage. Remove the inner pot and wash with soft sponge and mild soap; harsh scrubbers scratch the non-stick coating. Wipe the heating plate with a damp microfiber cloth to remove invisible starch residue (this prevents burnt spots). Dry all parts completely before storage—trapped moisture breeds mold in the lid’s steam vent.
Monthly Deep Clean to Eliminate Buildup
For stubborn starch rings, combine 2 cups water and ½ cup white vinegar in the pot. Run a full White Rice cycle, then let it cool 20 minutes. The steam loosens residue for effortless wiping. To clear the lid vent, pop out the removable cover and soak in warm water for 5 minutes, using a toothpick to dislodge rice particles from tiny holes. For lingering fish or spice odors, run Quick Cook with 1 cup water and lemon slices—citric acid neutralizes smells naturally.
Critical Prevention Habits You’re Probably Skipping
Never use metal utensils—they gouge the non-stick surface, causing rice to stick permanently. Replace scratched inner pots immediately (Rise sells them for $15 online). Always store the cooker with the lid ajar to prevent musty smells. If rice boils over, unplug and wipe the overflow sensor immediately—residue here causes false “burnt” alerts.
Troubleshoot Common Cooking Disasters

Fix Mushy Rice in Under 10 Minutes
Excess water is the usual culprit. For already-cooked mush, spread rice on a baking sheet and bake at 300°F for 5-7 minutes to evaporate moisture. Next time, reduce water by ¼ cup per cup of rice—especially for older rice that absorbs less. For jasmine rice, always use the “less water” tip in the water ratio section.
Rescue Crunchy or Undercooked Grains
Hard centers mean insufficient water. Add ¼ cup hot water, fluff gently with a fork, and restart White Rice for 10 more minutes. For brown rice, extend by 15 minutes and add 2 tbsp extra water. Check this first: Did you level the rice surface? Uneven distribution causes patchy cooking.
Stop Burnt Bottoms Before They Happen
Burnt spots stem from starch buildup on the heating plate. Clean the plate thoroughly after every use, and ensure the inner pot sits flat (warping creates hot spots). Always rinse rice before cooking—unrinsed grains release starch that caramelizes on the plate. If burning occurs, run the vinegar deep clean immediately.
Perfect Sticky Rice Without the Gloop
Over-rinsing strips away too much surface starch, creating gummy clumps. Rinse rice just 2-3 times until water turns translucent—not clear. For restaurant-style separate grains, add 1 tsp neutral oil (like avocado) per cup before cooking. Avoid stirring during the keep-warm phase; it disrupts grain structure.
Pro Hacks for Next-Level Results

Pre-Soak Basmati for Elongated, Fragrant Grains
Soak basmati rice in Rise-measured water for 20 minutes before cooking. Drain completely, then use standard water ratios. This unlocks the signature fluffy texture and nutty aroma while cutting cooking time by 5 minutes. Never soak brown rice—it turns mushy.
Freeze Cooked Rice for Instant Meals
Cook 4 cups of rice on White Rice, cool completely, then freeze flat in portioned bags. Reheat frozen rice with 1 tbsp water per cup in the microwave for 90 seconds—no thawing needed. For stir-fries, add frozen rice directly to the wok; the steam separates grains as it heats.
Flavor Infusions Directly in the Pot
Boost rice with these add-ins:
– Mexican style: 1 tsp cumin + ½ tsp chili powder + 1 diced tomato
– Coconut rice: Replace ½ cup water with full-fat coconut milk
– Herb-infused: 2 bay leaves + 1 tbsp butter + fresh cilantro stems
One-Pot Chicken and Broccoli Dinner
Layer ingredients for zero cleanup:
1. Add 1.5 cups rice + water to pot
2. Place seasoned chicken thighs on steaming tray
3. Add broccoli florets to tray in last 7 minutes
4. Cook on Steam + Rice for 25 minutes
Your Rise rice cooker earns its counter space when you harness these precision techniques. Start with perfect white rice using the included cup and numbered water lines, then experiment weekly with brown rice cycles or steam functions. Commit to the 5-minute daily wipe-down, and your appliance will deliver flawless grains for years. Tonight’s dinner isn’t just another meal—it’s your first step toward becoming the rice-cooking hero your family deserves. Grab that Rise cup and cook with confidence.


