
That first batch of crunchy rice or soupy disappointment shouldn’t be your Imusa rice cooker’s legacy. When your countertop appliance delivers inconsistent results despite following basic instructions, frustration sets in fast. The culprit? Most users miss critical nuances in measurement, prep, and cycle management unique to Imusa’s non-pressure design. Whether you own the compact 3-cup model for solo meals or the 16-cup workhorse for family feasts, this guide reveals the exact techniques that transform erratic outcomes into foolproof rice every time. You’ll master water ratios that prevent mushiness, decode indicator lights that prevent undercooking, and rescue failed batches with precision fixes—all using only your cooker’s built-in features.
Imusa’s electric rice cookers operate on a simple thermostat principle: once free water absorbs, the unit automatically switches to “Warm” mode. But success hinges on understanding model-specific quirks like the 180ml measuring cup (not standard U.S. cups) and steam vent positioning. No more guessing games—these proven steps, verified across all removable-pot Imusa models, turn technical confusion into kitchen confidence. Let’s unlock your appliance’s full potential.
Unbox and Prep Your Imusa Cooker
Skipping factory residue removal triggers off-flavors in early batches and risks thermostat errors. This critical prep step ensures your cooker functions as engineered while protecting the non-stick coating.
Remove Factory Residues Safely
Fill the inner pot to the MAX line with water, add one tablespoon of white vinegar, and run a complete cook cycle. The vinegar neutralizes manufacturing oils without damaging surfaces. Discard the water while hot, then wipe the pot, heating plate, and lid with a soft cloth. Never skip this “boil test”—residual compounds can cause uneven heating during your first real cook, leading to scorched rice or incomplete cycles.
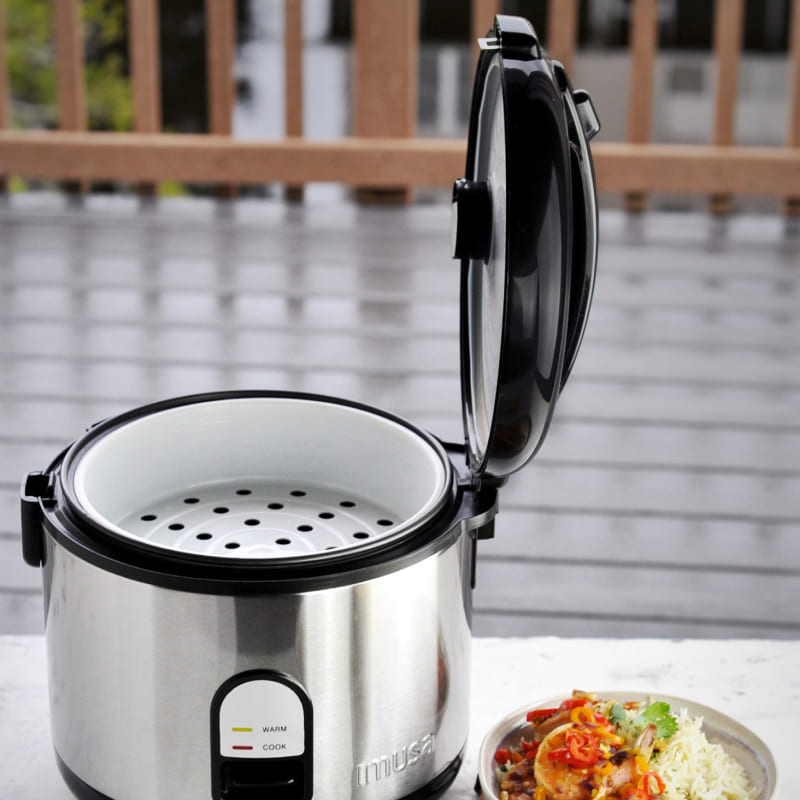
Know Your Components
Identify these universal parts before cooking:
– Heating plate: Embedded element that triggers auto-switch to “Warm” when water absorbs
– Non-stick inner pot: Aluminum or ceramic-coated (never use metal utensils)
– Tempered glass lid: Features a single 6mm steam vent—position away from cabinets
– 180ml measuring cup: Critical for accuracy (1 cup = 180ml raw rice, not 240ml)
– Rice paddle: BPA-free plastic to prevent coating scratches
Models GAU-00011 and GAU-00013 include a steaming tray that rests on the pot rim. Always confirm the pot exterior is bone-dry before seating—it prevents steam leaks that disrupt cooking.
Measure Rice Like a Pro

Using standard measuring cups causes 90% of Imusa rice failures. The supplied 180ml cup—not household cups—ensures water ratios match the cooker’s internal calibration.
Master the Ratios
| Grain Type | Water Ratio (using Imusa cup) | Result | Total Time |
|---|---|---|---|
| White long-grain | 1:1 | 2 cups cooked | 18-22 min |
| Brown rice | 1:1.5 + 1 tsp oil | 2.5 cups cooked | 35-45 min |
| Jasmine/Basmati | 1:1 | 2 cups cooked | 16-20 min |
| Quinoa | 1:1.25 | 2 cups cooked | 15 min |
Pro tip: Fill water to the numbered line matching your rice cups (e.g., “3” for 3 cups raw rice). Exceeding the MAX line risks boil-overs, especially with starchy grains like sushi rice. For enriched white rice, skip rinsing to retain vitamins—but expect stickier results. Always drain rinsed rice thoroughly; residual water throws off ratios.
Standard Cooking Steps
Follow this sequence religiously—deviations cause inconsistent texture. The process takes under 25 minutes for white rice but demands precision.
Load and Position Correctly
- Measure dry rice using the 180ml cup, leveling off excess
- Rinse until water runs mostly clear (2-3 swishes), then drain completely
- Add water to the matching pot line or use ratio table
- Dry the pot’s exterior—any moisture creates hot spots causing scorching
- Seat the pot firmly by rotating slightly for flat contact with the heating plate
- Close the lid with steam vent angled away from cabinets
Start the Cook Cycle
Press the lever switch down to “Cook” until it clicks—red light confirms active cooking. Never lift the lid; each peek adds 5+ minutes by releasing steam. When water fully absorbs, the thermostat auto-switches to “Warm” (amber light). Let rice rest 5-15 minutes for steam equalization—this final step prevents gummy bottoms. Fluff gently with the paddle before serving.
Steam While Cooking Rice
Maximize efficiency with the steaming tray (GAU-00011/GAU-00013 models) without extending cook time.
Perfect Timing Guide
- Broccoli florets: 6 minutes (add at cycle start)
- Carrot coins: 10 minutes
- Salmon fillet: 12 minutes
- Hard-boiled eggs: 16 minutes (transfer to ice bath immediately after cycle)
Critical rule: Never fill the tray beyond 1/3 capacity. Overfilling blocks the 6mm steam vent, causing uneven cooking and potential overflow. Use silicone-tipped tongs for removal—the tray exceeds 100°C. For vegetables, place rice water at normal level first, then add tray with food before closing the lid.
Fix Common Cooking Failures

Rescue imperfect rice in minutes using your cooker’s existing functions—no extra tools needed.
Crunchy or Undercooked Rice
Cause: Insufficient water or premature lid lifting
Fix: Add ¼ cup hot water, close lid, press “Cook” for 5 additional minutes. The thermostat resets, allowing proper absorption.
Mushy or Soupy Rice
Cause: Too much water or improper pot seating
Fix: Drain excess liquid through a fine strainer, then cook uncovered on “Warm” for 10 minutes to evaporate moisture.
Scorched Bottom Layer
Cause: Wet pot exterior or unrinsed rice leaving starch film
Prevention: Always dry the pot bottom thoroughly and rinse rice until water runs mostly clear. If scorching occurs, soak the pot in warm water before cleaning—never scrape.
Clean Like a Technician
Improper cleaning causes the #1 failure: debris interfering with the heating plate’s thermostat function.
Daily Cleaning Routine
- Unplug and cool 15 minutes—outer walls exceed 90°C
- Remove inner pot; wash with soft sponge (metal scourers destroy non-stick coating)
- Wipe heating plate with barely damp cloth to remove stuck grains
- Clean lid and accessories in warm soapy water
- Store with lid slightly open to prevent odors from trapped moisture
Monthly Deep Clean
Boil 1 cup water + 2 tablespoons citric acid for 5 minutes to dissolve mineral deposits. Rinse thoroughly—residual acid affects future batch flavors. Never immerse the main housing; wipe only with a damp cloth.
Model-Specific Considerations
Each size has non-negotiable thresholds for perfect results. Ignoring these causes uneven cooking.
Mini 3-Cup Models (GAU-00005)
- Max capacity: 1.5 cups raw rice (exceeding 0.9kg total weight strains the 300W element)
- Critical tip: Add 2 extra minutes to cook times due to lower wattage
Standard 5-8 Cup (GAU-00011)
- Sweet spot: 2-4 cups raw rice
- Steamer advantage: Use tray for proteins without adjusting rice water levels
Jumbo 16-Cup (GAU-00013)
- Minimum rice: 2 cups raw for even heat distribution
- Dual vents: Prevent overflow with large batches—never fill beyond MAX line
Beyond Rice: One-Pot Meals
Your Imusa cooker handles diverse dishes using the same water ratios and cycle logic.
Quick Weeknight Dinners
- Beans (pre-soaked): 1 cup beans : 2.5 cups water + 1 tsp oil (45 minutes)
- Lentil soup: 1 cup lentils : 2 cups water + aromatics (25 minutes)
- Mac & cheese: 1 cup pasta : 1¼ cups water + ½ cup milk + ½ cup cheese—stir at switchover
Healthy Breakfast Options
Steel-cut oats cook perfectly at 1:3 ratio (1 cup oats : 3 cups water) in 25 minutes. Add cinnamon during the 10-minute rest period for infused flavor without burning.
Master the Indicator Lights
These lights are your only diagnostic tool—misinterpreting them ruins batches.
- Red light solid: Actively cooking (do not open lid)
- Amber light solid: Warm mode engaged—rice is ready after 5+ minute rest
- No lights: Unit unplugged or electrical fault
- Immediate switch to warm: Insufficient liquid or thermostat failure
If the lever pops up immediately with adequate liquid, contact Imusa support—this indicates a warranty-covered thermostat issue. Never force the lever down; it risks electrical damage.
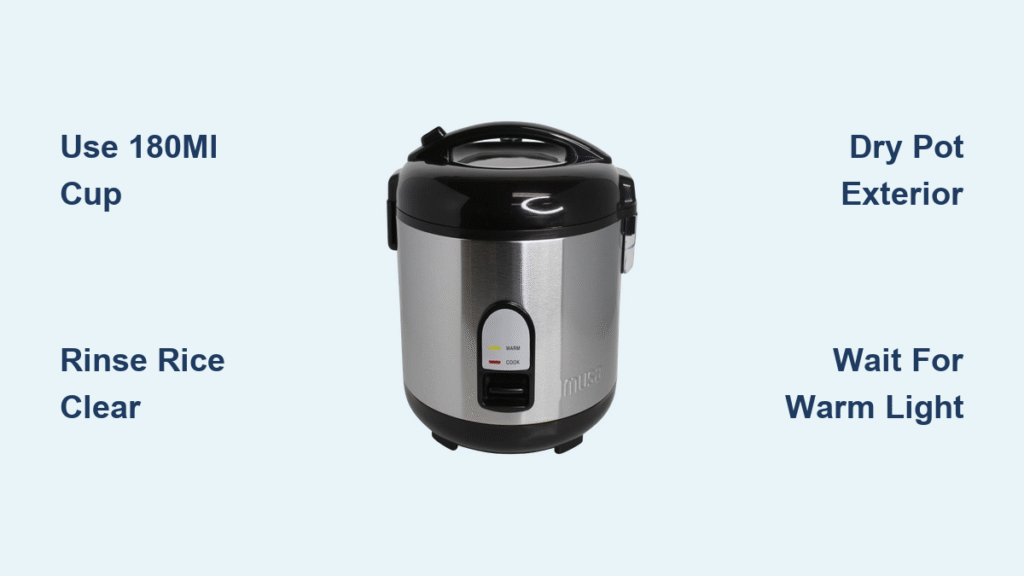
Quick Reference Checklist
Tape this inside your cabinet for flawless results:
- [ ] Use 180ml cup (not standard measuring cup)
- [ ] Rinse rice until water runs mostly clear
- [ ] Fill water to matching pot line
- [ ] Dry pot exterior completely
- [ ] Seat pot firmly on heating plate
- [ ] Close lid, vent away from cabinets
- [ ] Press lever to “Cook”
- [ ] Wait for automatic switch to “Warm”
- [ ] Rest 10 minutes, fluff, serve
Your Imusa rice cooker delivers perfect grains consistently when you honor its engineering nuances. The 180ml cup, dry pot seating, and indicator light awareness transform technical hurdles into daily wins. Remember: never skip the vinegar boil test, always rest rice after cooking, and clean the heating plate religiously. Master these fundamentals, and your Imusa becomes the most reliable appliance in your kitchen—handling everything from fluffy jasmine rice to one-pot lentil stews with zero guesswork. For persistent issues like immediate switchover with proper liquid levels, contact Imusa’s warranty team—they’ll replace faulty thermostats free within one year. Now go cook with confidence.


