
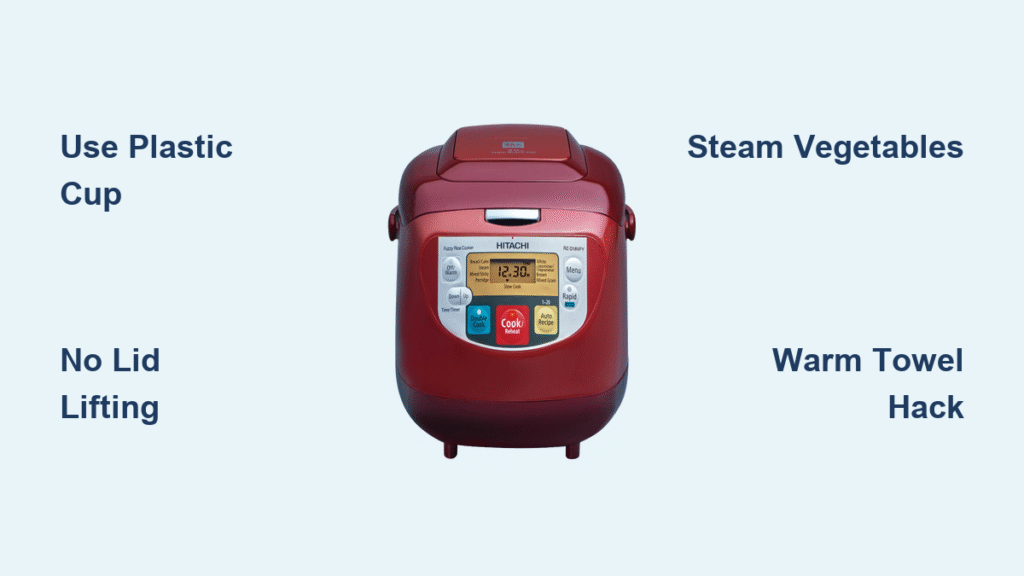
Tired of mushy rice or burnt bottoms that ruin your weeknight dinners? Your Hitachi rice cooker holds the solution—if you know how to use it correctly. Unlike basic models, Hitachi’s moisture-detecting technology automatically shuts off when rice reaches peak fluffiness, then keeps it warm for hours without overcooking. But skip one critical step—like using the wrong measuring cup—and you’ll end up with disappointment instead of perfect grains.
This guide reveals exactly how to use your Hitachi rice cooker for consistently restaurant-quality results, whether you’re cooking a single serving or a family-sized batch. You’ll discover why that mysterious light brown crust is actually a sign of success, how to steam vegetables simultaneously, and even the surprising towel-warming hack professionals use. Let’s transform your cooking routine with these precise, model-specific techniques.
Measure Rice with Hitachi’s Precision Cup System
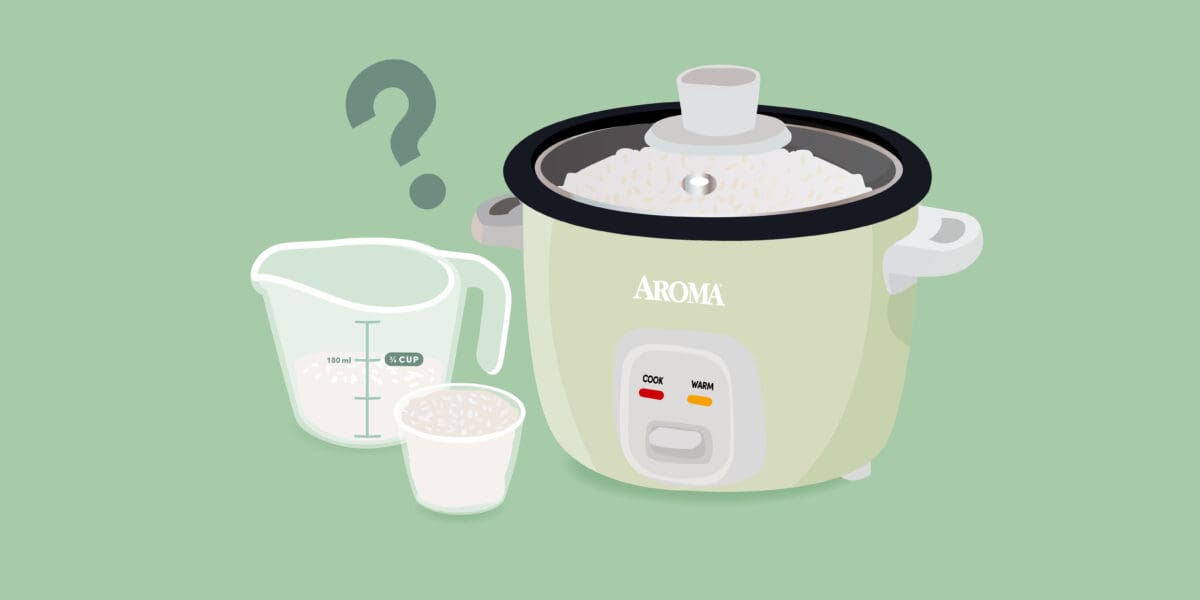
Your Hitachi rice cooker includes a specialized plastic measuring cup that’s 20% smaller than standard U.S. cups—using anything else guarantees soggy or undercooked rice. Each level fill of this cup yields four perfect half-cup servings of cooked rice, making portion planning effortless. Ignore this, and your rice texture will suffer every time.
Fill the Plastic Cup Correctly
- Scoop rice until level with the rim (never pack or heap)
- Pour directly into the inner cooking pan—don’t transfer
- Track cups as you add: 1 cup raw = 4 servings cooked
- For larger batches: 3 cups raw = 12 servings (fills to line “3”)
Master Water Level Guidelines
The inner pan contains numbered fill lines matching your rice quantity—this eliminates guesswork:
– 1 cup rice → Fill water to line “1” (just below the rim)
– 2 cups rice → Fill to line “2” (visible 1/2″ below line “1”)
– 3+ cups → Continue the pattern upward (line “4” = 16 servings)
Pro Tip: Always use cold tap water. Warm water activates starches prematurely, causing uneven cooking.
Prepare the Inner Pan to Prevent Sticking

Skipping this 10-second step causes 90% of “burnt rice” complaints. Before adding rice, lightly spray the inner cooking pan with non-stick cooking spray—this creates a barrier against the heating element. Then ensure the pan clicks securely into the base; a misaligned pan creates hot spots that scorch grains. You’ll know it’s seated correctly when the handle sits flush with the cooker’s front.
Start Cooking Without Critical Errors
Connect Power Safely in 3 Steps
- Insert the larger cord connector into the port on the cooker’s back
- Plug the two-pronged end into a grounded outlet
- Position on a heat-safe surface away from walls
Activate Cooking Mode Properly
- Flip the “ON/OFF” switch to “ON”
- Push the “Warm” switch down to “Cook” position
- Critical: Never lift the lid or stir during cooking—this releases steam and disrupts moisture detection
The cooker automatically monitors water absorption. When steam vanishes, a chime sounds signaling perfect doneness—typically in 22-28 minutes. No timers needed.
Manage Warm Mode to Preserve Texture
Immediately after the chime, slide the “Warm” switch up to activate warming mode. This maintains 140°F ideal serving temperature for up to 5 hours without drying or hardening rice. The moisture-detection system cycles heat minimally—unlike competitors that overcook during warming. For best results, leave the lid closed until serving.
Clean and Serve Rice Without Common Mistakes
Why Light Browning Is Normal (Not Burning)
A delicate, paper-thin golden crust forms along the bottom—this okoge (Japanese for “scorched rice”) indicates properly cooked grains, not burning. Gently scrape it into the fluffy rice above with the paddle for nutty flavor and texture contrast. If it’s thick and black, you used too little water.
Fluffing Technique for Maximum Fluffiness
- Wait 10 minutes after cooking completes
- Use only the Hitachi rice paddle (metal forks scratch coatings)
- Cut vertically through rice, then fold upward from the bottom
- Serve within 2 hours for optimal texture
Steam Vegetables While Rice Cooks in 15 Minutes
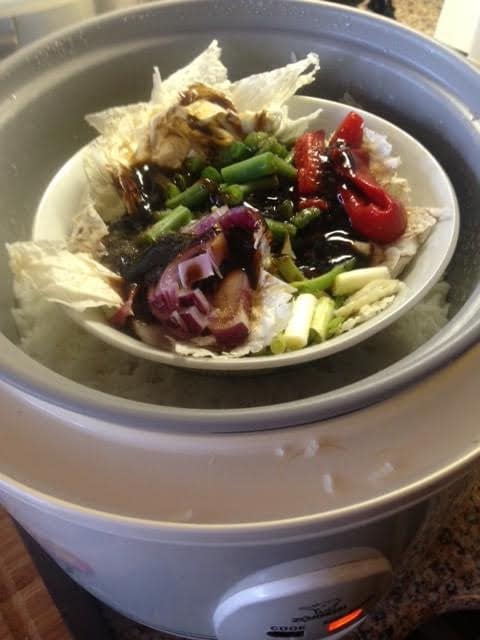
Your cooker’s included steam plate transforms it into a multi-tasking powerhouse. Place broccoli florets, sliced carrots, or snap peas on the plate above the rice—steam from cooking rice perfectly cooks veggies by mealtime.
Steam Plate Setup Checklist
- Add 1/2″ water to the inner pan before rice (prevents scorching)
- Position vegetables in a single layer (overcrowding causes steaming)
- Insert plate after adding rice but before starting cook cycle
- Season veggies with sesame oil after cooking—they absorb rice aroma
Time Saver: Steam hard-boiled eggs on the plate for 18 minutes while cooking rice.
Reheat Leftover Rice Like a Pro
Revive cold, dry rice to freshly steamed quality in 15 minutes using this method:
1. Add 1/2 cup water per 8 oz cooked rice to the inner pan
2. Place steam plate inside
3. Spread cold rice evenly on the plate
4. Set “Warm” switch to “Warm” position (not “Cook”)
5. Heat 15 minutes, then fluff immediately
Warning: Never reheat rice on “Cook” mode—this reboils grains, making them gluey.
Activate the Hidden Towel Warmer Feature
Roll damp hand towels tightly and place them inside the cooker after cooking completes (while still warm). In 10 minutes, you’ll have spa-quality warm towels for:
– Wiping sticky hands after eating
– Pre-massage warmth therapy
– Upscaling dinner presentation instantly
Caution: Use only cotton towels—synthetics may melt near heating elements.
Fix Common Beginner Errors Ruining Your Rice
Never Do These 4 Things
- Use standard measuring cups (causes 30% water imbalance)
- Lift the lid mid-cycle (adds 8+ minutes to cooking time)
- Stir rice while cooking (disrupts moisture sensors)
- Exceed max line “10” (triggers overflow and safety shutoff)
Measurement Accuracy Checklist
- Level rice in plastic cup with a straight edge (knife/spatula)
- Rinse rice until water runs clear to remove excess starch
- Soak brown rice 20 minutes before cooking (adjust water +1/4 cup)
- Check water lines at eye level—angled views cause overfilling
Extend Your Cooker’s Lifespan with Daily Care
Essential Post-Use Routine
- Unplug immediately after warming cycle ends
- Wipe exterior with damp microfiber cloth (never submerge)
- Hand-wash inner pan with soft sponge (abrasives destroy non-stick coating)
- Dry all parts completely before storage to prevent mold
Monthly Performance Checks
- Inspect cord for fraying near plug connections
- Test automatic shutoff with 1 cup rice (should chime at 25 mins)
- Replace inner pan if coating chips (exposed metal causes burning)
- Clean steam vent with toothpick monthly (clogs cause pressure issues)
Your Hitachi rice cooker delivers flawless results when you master these precise techniques. That light brown crust? It’s not a flaw—it’s the signature of perfect moisture detection. By using the plastic cup, respecting the no-lid-lifting rule, and leveraging the steam plate, you’ll achieve restaurant-quality rice with zero effort. Remember: when reheating, always use the “Warm” setting, and never skip the pan-spraying step. Implement these methods once, and you’ll enjoy consistently fluffy rice for years—plus spa-worthy warm towels after every meal. Ready for perfect grains tonight? Grab that plastic cup and start measuring.


