
Your sushi rolls keep falling apart because your rice won’t stick together? That frustrating experience ends today. While professional sushi chefs train for years to master rice preparation, your countertop rice cooker can produce restaurant-quality sushi rice with precise technique. The secret lies in three critical phases: selecting proper short-grain rice, mastering exact water ratios, and applying the perfect seasoning blend at the right temperature.
This guide reveals the exact rice cooker method that transforms your homemade sushi from disappointing to delicious. No more mushy or dry rice—just perfectly sticky, glossy grains that hold together beautifully for rolls, nigiri, and hand rolls.
Selecting Authentic Sushi Rice Varieties

Short-Grain Japanese Rice is Non-Negotiable
Your sushi rice will fail before you begin if you choose the wrong grain. Only short-grain Japanese rice (sometimes labeled as sushi rice, japonica, or calrose) contains the high amylopectin starch content needed to create that essential sticky-but-not-mushy texture. This unique starch structure allows grains to cling together while maintaining individual integrity—critical for rolling and shaping.
Top Recommended Brands to Find at Your Grocery Store:
– Nishiki – Most accessible supermarket option with reliable results
– Tamaki Gold – Premium short-grain worth the splurge
– Koda Farms Kokuho Rose – Acceptable medium-grain alternative
– Tamanishiki – Restaurant-quality grain for serious sushi makers
– Yuki Tsubaki – Excellent consistency for beginners
Never substitute with jasmine, basmati, or American long-grain rice—they lack the necessary starch composition and will crumble during rolling.
Filtered Water Makes Noticeable Difference
Hard tap water can interfere with starch activation, resulting in chalky, unevenly cooked rice. Always use filtered water to prevent mineral interference that affects texture. If your tap water has strong flavor or odor, that taste transfers directly to your finished rice, overpowering delicate sushi flavors.
Set Up Your Rice Cooker Station Properly
Rice Cooker Must-Haves for Sushi Success
Your basic $20 rice cooker works perfectly for sushi rice—no need for expensive models. However, ensure it has these critical features:
– Standard “white rice” setting (avoid quick-cook or brown rice functions)
– Non-stick cooking pot (metal utensils will damage the surface)
– Tight-fitting lid that creates proper steam pressure
Pro tip: If using a premium Zojirushi Neuro Fuzzy model, select the “sushi rice” or “white rice” setting—not the “quick cook” option which produces inferior results.
Essential Tools Checklist
Gather these items before starting:
– Fine mesh strainer for thorough rinsing
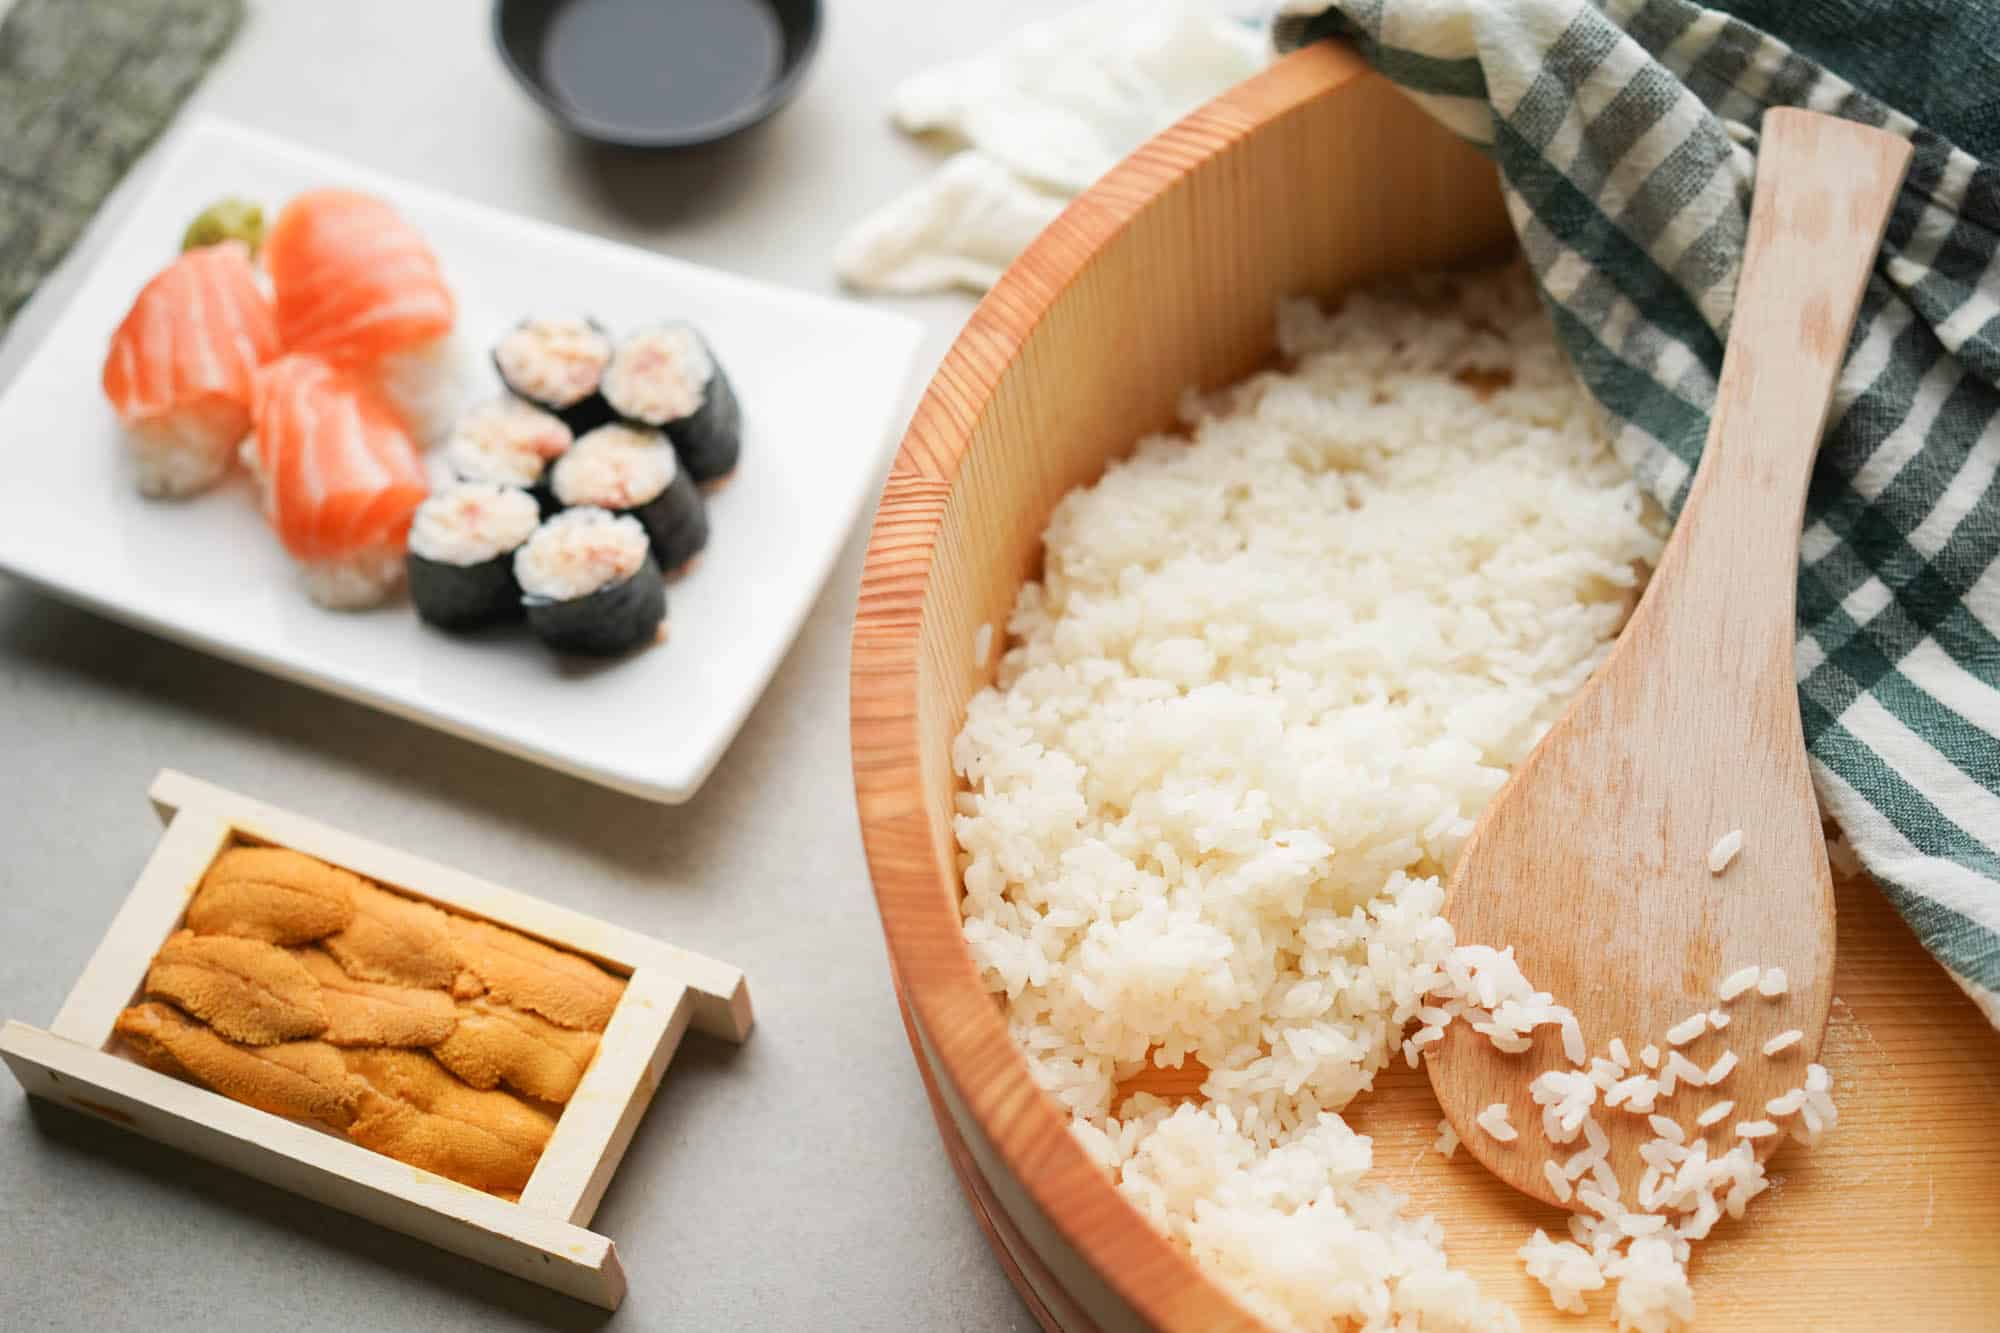
– Large shallow bowl (traditional hangiri ideal, but glass or stainless steel works)
– Rice paddle or wooden spoon (never metal)
– Clean damp towel for covering finished rice
Master the Rice Washing Technique
Why Proper Rinsing Determines Your Sushi Fate
Skipping the rinse step guarantees mushy, gummy rice that won’t hold together in rolls. This critical process removes excess surface starch that would otherwise create an unpleasant texture. Most home cooks don’t rinse enough—water should run completely clear, not just slightly cloudy.
Step-by-Step Washing Process:
1. Measure rice using dry measuring cups (1.5 cups makes 6 standard rolls)
2. Place in strainer under cold running water
3. Gently massage grains with fingertips for 10-15 seconds
4. Continue rinsing through 4-7 cycles until water runs crystal clear
5. Drain thoroughly—any excess water throws off your critical water ratio
Warning: Even premium brands like Nishiki require thorough washing. Some sources mistakenly suggest skipping this step, but it’s essential for proper texture.
Should You Soak the Rice?
- 15-minute soak: Creates more even cooking throughout each grain
- Skip soaking: Produces drier rice that absorbs seasoning better
- Your best option: Experiment with both methods to discover your preference
Execute the Perfect Rice Cooker Method
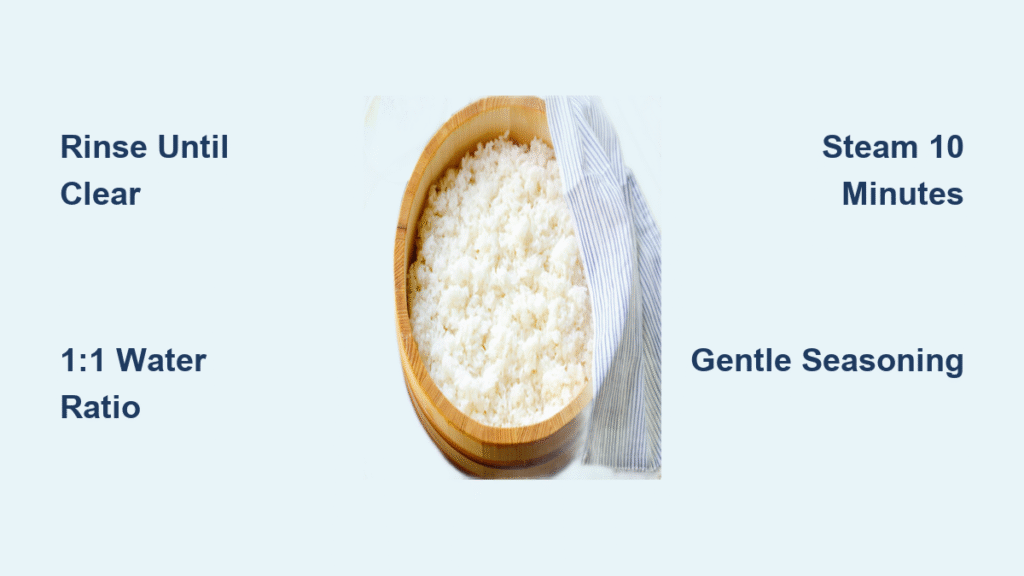
The 1:1 Water Ratio Rule
Forget confusing measurements—sushi rice requires a simple 1 cup rice to 1 cup water ratio for short-grain varieties. This precise balance creates the ideal moisture content for sushi applications.
Scaling Guide for Any Batch Size:
– 1 cup rice → 1 cup water (makes 2-3 rolls)
– 1.5 cups rice → 2 cups water (makes 6 rolls)
– 3 cups rice → 3.25 cups water (feeds 6-8 people)
Cooking Process That Never Fails
- Add drained rice to cooker pot (level surface with paddle)
- Pour measured filtered water over rice
- Place 1-inch kombu piece on top (optional umami boost)
- Close lid securely and select “white rice” setting
- After cooking completes, let rice steam with lid closed for 10 minutes
- Turn off warming function immediately to prevent overcooking
Critical insight: That 10-minute rest period allows residual steam to finish cooking the rice evenly—skipping it causes inconsistent texture.
Season Like a Sushi Master
Prepare the Vinegar Mixture Correctly
Convenience Method:
– Use 1/4 cup pre-seasoned rice vinegar (Marukan brand works well)
– For 1.5 cups uncooked rice
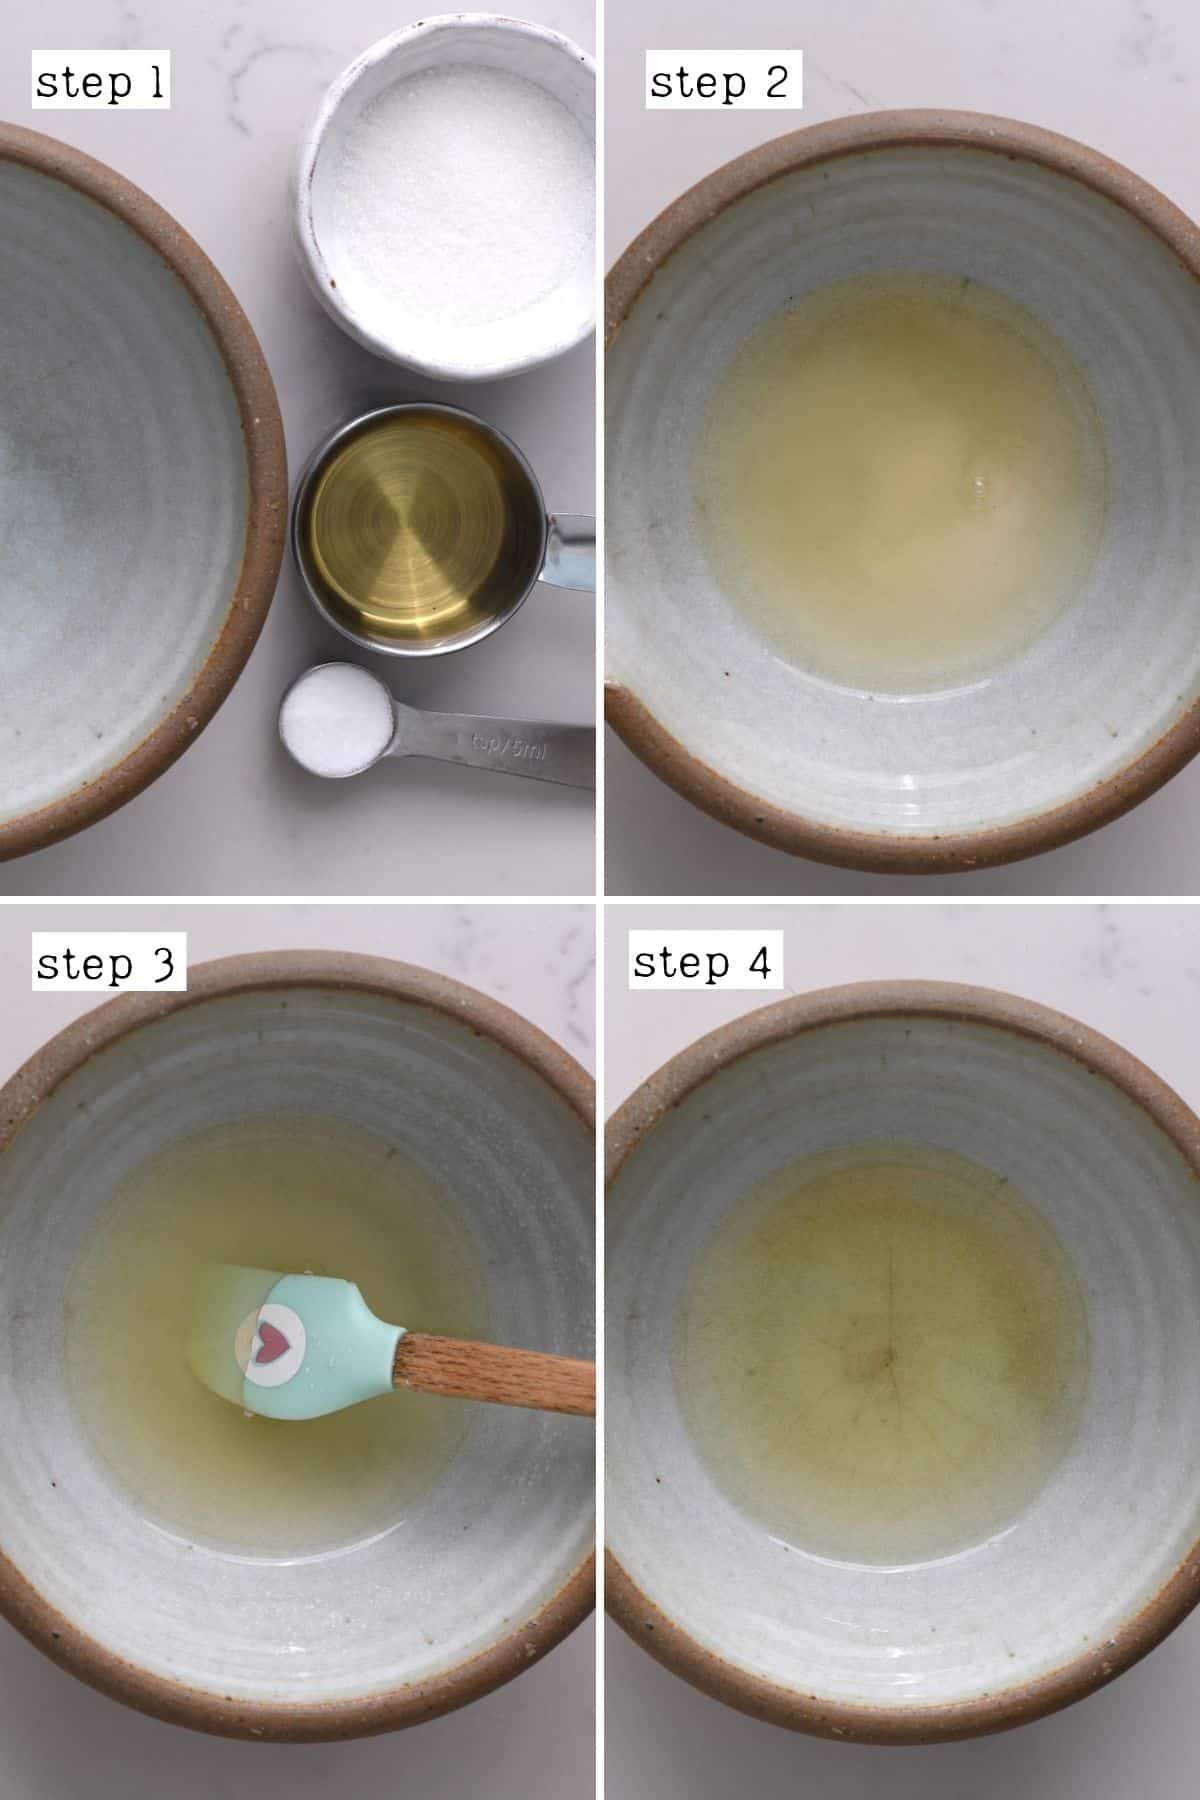
Custom Blend (Recommended for Better Flavor Control):
– 1/4 cup rice vinegar
– 2 tablespoons white sugar
– 1 teaspoon kosher salt
– Optional: 1-inch kombu piece
Mixing technique: Microwave 20-30 seconds until sugar dissolves completely—undissolved sugar creates uneven flavor pockets.
The Gentle Seasoning Technique
- Transfer hot rice to shallow bowl immediately after cooking
- Drizzle seasoning evenly across surface (not in one spot)
- Using cutting and folding motions (never stirring), gently mix
- Continue until grains become glossy and uniform in appearance
- Fan rice while mixing for traditional cooling method (optional)
Temperature target: Slightly warm or room temperature. Rice that’s too hot wrinkles nori; too cold becomes stiff and unworkable.
Store Sushi Rice Properly for Best Results
Same-Day Storage Protocol
- Cover with damp towel or plastic wrap touching rice surface
- Room temperature: 3-4 hours maximum
- Never refrigerate—cold temperatures irreversibly harden rice
Emergency Refrigeration Fix
If absolutely necessary:
– Store rice and seasoning separately
– Reheat rice gently with damp towel
– Add fresh seasoning after reheating
– Expect noticeable texture degradation
Fix Common Sushi Rice Problems Immediately
Texture Troubleshooting Guide
Rice too hard?
– Sprinkle 2 tablespoons water over rice
– Cover with damp towel and microwave 30 seconds
– Repeat once if needed—don’t overdo it
Rice too soft or mushy?
– Caused by insufficient rinsing or excess water
– Current batch likely unsalvageable for sushi
– Reduce water by 2+ tablespoons next time
Flavor Rescue Techniques
Bland rice? Increase seasoning to 1.5-2 tablespoons per cup cooked rice.
Over-seasoned? Unfortunately, this is difficult to correct—best to restart with fresh rice.
Scale Your Sushi Rice for Any Occasion
Party-Sized Sushi Rice Recipe
For 6-person dinner:
– 3 cups uncooked rice
– 3.25 cups filtered water
– 1/3 cup seasoned rice vinegar
Critical tip: Maintain the 1:1 rice-to-water ratio regardless of batch size. Large batches require extended mixing time (3-4 minutes) to ensure even seasoning distribution.
Make-Ahead Seasoning Trick
Prepare triple batch: 3/4 cup vinegar, 6 tablespoons sugar, 3 teaspoons salt. Store refrigerated in glass jar for 2 months. This shortcut enables spontaneous sushi nights with perfect seasoning every time.
Plan Your Sushi Rice Quantities Precisely
Roll-by-Roll Measurement Guide
- Hosomaki (thin rolls): 1/2 cup cooked rice per roll
- Futomaki (thick rolls): 1 cup cooked rice per roll
- 2-person dinner: 3-4 rolls total (1.5 cups uncooked rice)
Quick Reference Recipe for 6 Sushi Rolls:
1.5 cups sushi rice + 2 cups filtered water → Cook on white rice setting → 10-minute rest → Season with 1/4 cup vinegar mixture → Mix gently → Cool to room temperature
Your rice cooker transforms into a sushi rice factory with these precise techniques. The key is respecting each phase: thorough washing removes excess starch, exact ratios create ideal moisture content, and gentle seasoning preserves texture. Once mastered, you’ll consistently produce glossy, perfectly seasoned rice that holds together beautifully for all your sushi creations. Forget expensive restaurant prices—your homemade sushi now rivals professional quality with minimal effort and maximum results.


