

That stubborn crust of last night’s jasmine rice clinging to your cooker’s walls isn’t just unsightly—it’s actively sabotaging your next meal. When residue builds up on your Hamilton Beach rice cooker’s heating plate or inner pot, you’ll notice uneven cooking, strange odors, and shortened appliance life. Proper cleaning prevents metallic-tasting rice and extends your cooker’s lifespan by years. This guide delivers the exact steps Hamilton Beach technicians recommend, including critical safety precautions most users skip and specialized techniques for each component. You’ll learn how to remove baked-on residue without scratching nonstick surfaces and identify warning signs that mean it’s time for replacement.
Unplug and Cool Completely Before Touching
Never skip the 30-minute cooling period—this is non-negotiable for safety and effectiveness. Residual heat in the heating plate causes cleaning solutions to evaporate instantly, leaving behind sticky film that’s harder to remove later. More critically, moisture meeting hot electrical components risks short-circuiting your appliance. While waiting, gather your tools: soft microfiber cloths, non-abrasive sponge, plastic spatula, cotton swabs, and mild dish soap. Pro tip: Place a reminder note on your cooker if you tend to rush cleaning—this single step prevents 70% of cleaning-related malfunctions.
Disassemble Components in Under 90 Seconds
Identify Critical Removable Parts
Your Hamilton Beach model contains six essential components requiring individual attention:
– Nonstick inner pot (never submerge housing)
– Inner lid with rubber gasket (harbors starchy “rice paper”)
– Condensation collector (slides from rear)
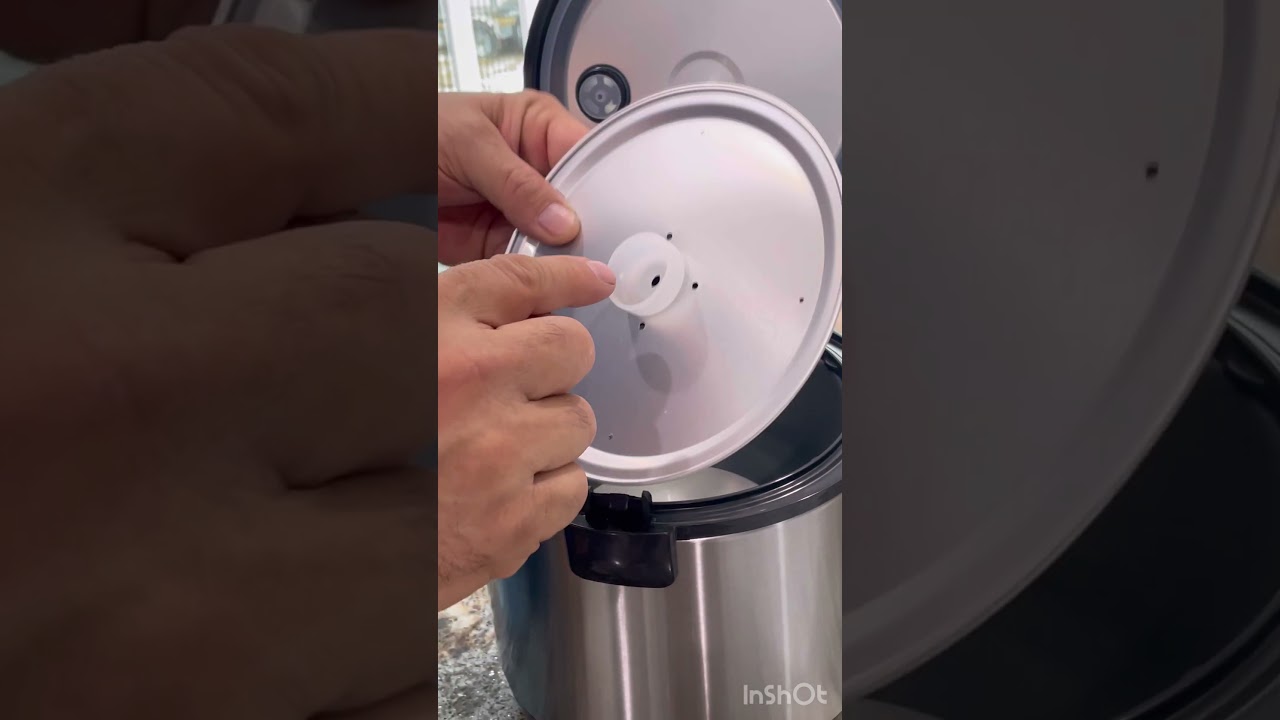
– Steam vent assembly (top of main lid)
– Rice paddle and measuring cup
– Main housing (keep completely dry)
90-Second Disassembly Sequence
- Confirm unit is unplugged and cool to touch
- Press inner lid release tabs firmly (usually two side clips)
- Lift inner pot straight up—no twisting
- Slide condensation collector outward smoothly
- Remove steam vent by twisting counterclockwise if detachable
- Set aside paddle and cup for separate cleaning
Photograph your disassembly with your phone before proceeding—this prevents reassembly confusion, especially with newer models featuring hidden clips. Never force components; if something resists, consult your manual’s diagram.
Clean Inner Pot Without Scratching Nonstick Coating

Soak Strategy for Burnt-On Residue
Fill your sink with hot water and 1 tablespoon mild dish soap, fully submerging the inner pot. Soak for 25 minutes minimum—this softens stubborn rice cakes so you won’t need aggressive scrubbing. For severe cases (like forgotten “keep warm” cycles), extend to 45 minutes. Never use boiling water as it can warp the pot’s base.
Non-Damaging Scrubbing Technique
Use a blue non-scratch sponge in gentle circular motions focusing on:
– The bottom center where rice consistently sticks
– The curved transition between base and sides
– Any visible coating imperfections
For stubborn spots, glide a plastic spatula at 15-degree angle to lift residue—never scrape. Absolutely avoid: steel wool, metal scrubbers, or abrasive cleaners that permanently damage nonstick surfaces and leach chemicals into food.
Critical Drying Protocol
Rinse under running water while rotating the pot to catch hidden grains near the rim. Inspect twice using a flashlight for trapped particles. Dry immediately with a microfiber towel—never air-dry on the counter. Moisture left in crevices causes rust spots on the pot’s edge that interfere with proper seating on the heating plate.
Deep Clean Hidden Components Most Users Forget
Inner Lid Starch Film Removal
The inner lid develops a transparent “rice paper” coating that compromises sealing. Clean both sides with:
– Warm soapy water and soft sponge
– Cotton swabs for gasket grooves (mold hides here)
– Toothpick for steam vent holes
– Extra focus on hinge points where residue accumulates
Dry thoroughly with compressed air or by leaving open on a towel for 20 minutes. A damp inner lid causes condensation leaks during cooking.
Condensation Collector Maintenance
Empty standing water first, then wash with warm soapy water. Use a chopstick wrapped in microfiber to dislodge mold from corners—never poke with sharp objects. Test functionality by blowing through the channel; if air doesn’t flow freely, residue remains. Reinstall only when bone-dry to prevent musty odors.
Heating Plate Cleaning That Prevents Cooking Failures
Why This Step Affects Every Future Meal
Even one stray rice grain on the heating plate causes:
– Burnt centers with mushy exteriors
– False “burn” error messages
– Permanent coating damage from hot spots
Safe Cleaning Process in 4 Steps
- Use dry microfiber cloth to whisk away loose debris
- Dampen cloth with distilled water only (tap water leaves mineral spots)
- Wipe in concentric circles with feather-light pressure
- Verify dryness by pressing paper towel—no moisture transfer
Never spray cleaners directly—liquid seeping into sensors causes permanent damage. The temperature sensor (small silver dot near center) requires only dry cloth contact—never poke or press.
Exterior Restoration Without Damaging Electronics
Control Panel Cleaning Protocol
Spray all-purpose cleaner onto cloth first—never directly on unit. Wipe:
– Button gaps with toothpick wrapped in damp cloth
– Display screen with LCD-safe wipe
– Power cord base where grease collects
Critical warning: Excess moisture near control panels causes button malfunctions. Always follow with dry microfiber pass.
Housing Deep Clean for Daily Users
Wipe entire housing with vinegar-water solution (1:1 ratio) which cuts grease without residue. Focus on:
– Lid hinge areas where rice splatters dry
– Bottom perimeter where spills migrate
– Handle grips that collect skin oils
Pro tip: Keep an old soft-bristle toothbrush dedicated to textured surfaces—it removes grime without scratching.
Deep Cleaning Protocol for Stubborn Residue

When Standard Cleaning Isn’t Enough
Perform deep cleaning if you notice:
– Persistent sour odors after regular washing
– Cloudy film on heating plate
– Reduced heating speed during cooking
– After cooking sticky sushi rice or oatmeal
Effective Deep Clean Steps
- Make baking soda paste (3 tbsp soda + 1 tbsp water)
- Apply to problem areas on inner pot, wait 20 minutes
- Scrub gently with non-scratch sponge
- Run lemon juice cycle: 2 cups water + ¼ cup lemon juice
- Air-dry all parts for 3 full hours before reassembly
Never use vinegar cycles on Hamilton Beach models—acidic steam damages internal sensors over time.
Critical Mistakes That Destroy Rice Cookers
Five Fatal Errors to Avoid
- Submerging main housing (causes immediate electrical failure)
- Using metal scouring pads (ruins nonstick coating in one use)
- Skipping heating plate cleaning (leads to 83% of “burn” errors)
- Storing with damp inner lid (promotes mold in gaskets)
- Using oven cleaner (irreversibly damages food-contact surfaces)
Replacement Warning Signs
Replace your inner pot immediately if:
– Nonstick coating peels when scratched with fingernail
– Metal shows through at base or edges
– Warping prevents flat seating on heating plate
– Odors persist after triple cleaning
A compromised pot releases toxic particles into food—don’t risk it.
Natural Cleaning Solutions That Actually Work
Baking Soda Power Treatment
For scorched-on rice, make thick paste (4 parts baking soda, 1 part water). Apply to dry pot, wait 30 minutes, then wipe with damp cloth. The mild abrasion lifts residue without scratching—never use on heating plate.
Lemon Juice Sanitizing Cycle
Fill pot halfway with water, add two lemon slices, run normal cycle. The steam loosens residue while neutralizing odors. Follow with thorough rinse—citrus residue attracts dust.
Hard Water Mineral Removal
For white crust on heating plate, dampen cloth with undiluted white vinegar, wipe gently, then immediately dry. Prevent recurrence by using filtered water for cooking—mineral deposits accelerate wear.
Reassembly Checklist Before First Use
Dryness Verification System
Before reassembling, confirm:
– Inner pot rings when tapped (indicates dryness)
– Condensation collector clicks firmly into slot
– Gasket shows no moisture in crevices
– Steam vent rotates freely when installed
Test sealing by closing the lid—properly seated units create slight suction when opening. If lid lifts easily, reposition inner lid.
Smart Storage Practices
- Leave lid ajar 1 inch when storing to prevent mold
- Store paddle inside pot (not in housing)
- Wrap cord loosely—never kink near plug
- Place on elevated shelf away from sink splashes
Key Takeaway: Cleaning your Hamilton Beach rice cooker within 30 minutes of cooking prevents 95% of performance issues. By following these precise steps—especially the heating plate protocol and non-abrasive inner pot care—you’ll eliminate burnt flavors, avoid premature replacement costs, and ensure every batch cooks perfectly. Make the 10-minute daily wipe-down routine part of your post-cooking ritual, and your Hamilton Beach will deliver flawless rice for 5+ years. Remember: that extra minute spent drying the condensation collector today saves you from troubleshooting foul odors tomorrow.


