
Your Panasonic rice cooker delivers perfect grains daily, but starch buildup and mineral deposits silently sabotage performance. Left uncleaned, these residues cause burnt rice, lingering odors, and even shorten your cooker’s lifespan. This guide reveals manufacturer-approved cleaning methods that transform grimy interiors into spotless cooking chambers—no harsh chemicals or risky shortcuts. Whether you battle stubborn burnt-on rice or mysterious smells, you’ll master daily maintenance and deep cleaning for every Panasonic model. Let’s unlock faster cooking times and fresher-tasting rice starting today.
Essential Safety Steps Before Cleaning Your Rice Cooker
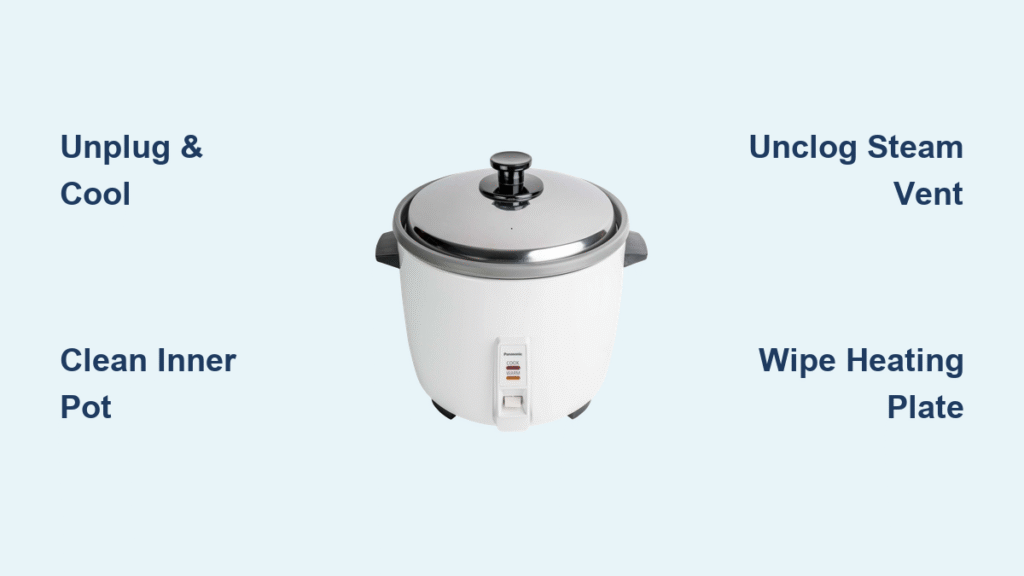
Always unplug your Panasonic rice cooker and wait 30+ minutes for complete cooling—the heating plate retains dangerous heat long after cooking stops. Water contacting electrical components risks permanent damage or shock. Identify critical no-moisture zones: the cord entry point, control panel seams, and heating plate edges. When wiping these areas, use a cloth dampened just enough to remove residue, never dripping wet. If moisture accidentally seeps into crevices, leave the cooker unplugged in a warm, dry spot for 24 hours before reuse. Never submerge the base unit or spray cleaners directly onto surfaces—steam and electricity create lethal combinations.
Inner Pot Deep Clean Without Damaging Non-Stick Coating

Remove and Soak While Warm (Not Hot)
Lift out the inner pot within 5 minutes of cooking completion to prevent rice from hardening into concrete-like residue. Fill your sink with warm water and 2 drops of mild dish soap, submerging the pot for 10-15 minutes. This gentle soak softens stuck grains without compromising the non-stick surface. For extreme cases like burnt-on rice, add 1 tablespoon of baking soda to the soak—its mild abrasiveness lifts debris safely.
Gentle Scrubbing Technique That Preserves Coating
Use a soft sponge in small circular motions from bottom to rim, avoiding abrasive pads or steel wool that permanently scratch the coating. For persistent spots, apply a paste of baking soda and water with your fingertip, letting it sit 5 minutes before rinsing. Never use metal utensils during cleaning—replace them with plastic or silicone tools immediately. Rinse thoroughly under running water, checking for any residue in corners.
When to Replace Your Inner Pot Immediately
Stop using your pot if you see:
– Silver streaks showing metal beneath the coating
– Flakes appearing in cooked rice
– Warping that causes uneven rocking
– Black stains that resist vinegar soaks
Panasonic replacement pots cost $25-$45 (model-dependent)—far cheaper than replacing the entire unit. Order using your exact model number from Panasonic’s parts store.
Lid and Steam Vent System Deep Cleaning
Detachable Inner Lid Removal and Cleaning
Press the release tabs (typically two buttons on the lid’s underside) to lift out the inner lid assembly. This component traps starchy spray during cooking. Wash both sides with warm soapy water using a non-scratch sponge, focusing intensely on the rubber seal—gently wipe the flexible ring without stretching it. Rinse until water runs clear, then air-dry completely before reinserting to prevent mold growth in damp crevices.
Unclog Steam Vents in 3 Simple Steps
- Twist the steam vent cap counterclockwise to remove (varies by model)
- Disassemble into 3-4 components if applicable
- Use a toothpick or pipe cleaner to clear clogged holes, followed by a 15-minute soak in warm soapy water
Rinse each piece until water flows freely through every opening—blocked vents cause uneven cooking and overflow. For fixed lids (non-removable), wrap a damp cloth around your finger to wipe the interior, using cotton swabs for the steam vent opening.
Heating Plate Care: Avoid Costly Damage
Daily Wipe Down That Prevents Burnt-On Residue
After each use, wipe the heating plate with a dry microfiber cloth while it’s slightly warm. This removes moisture droplets and loose grains before they carbonize. Pay special attention to the small metal temperature sensor button—a clean sensor ensures accurate cooking cycles. Never use paper towels, which leave lint that burns onto hot surfaces.
Deep Clean Burnt Spots Safely
For stubborn residue, dip a cotton swab in white vinegar and gently rub the spot—never pour vinegar directly onto the plate. Immediately follow with a dry cloth to prevent electrical damage. Grease buildup? Use a cloth dampened with rubbing alcohol, then dry thoroughly. Never use water on the heating element—it can seep into sensors causing permanent malfunction.
Condensation Collector Maintenance to Stop Mold
Empty and Clean After Every Rice Batch
Slide out the small plastic tray (typically at the back or side) and discard accumulated water immediately after cooking. Wash with warm soapy water using a bottle brush for corners. If black mold appears, soak in a 1:10 bleach solution for 5 minutes, then rinse 3x with clean water. Never reinsert a damp collector—trapped moisture breeds mold within 48 hours.
Foolproof Drying Method
Shake excess water vigorously, then place the collector on a dry towel for 10 minutes. Verify complete dryness by checking for water droplets in corners before reinserting. A single damp reinsertion can cause musty odors in your next batch of rice.
Exterior Surface Cleaning That Protects Electronics
Control Panel Cleaning Without Damage
Wipe buttons and displays with a barely damp microfiber cloth—never spray cleaners directly as liquid seeps under components. For sticky residue around buttons, use cotton swabs dipped in rubbing alcohol. For screens, use a dry microfiber cloth in circular motions to avoid scratches.
Body and Ventilation Slot Care
Clean all exterior surfaces with a soft damp cloth, focusing on the lid hinge area where rice grains accumulate. Use a dry soft brush (like a clean toothbrush) on bottom ventilation slots—dust buildup here causes overheating and shortened lifespan. Dry immediately with a towel to prevent water spots on plastic surfaces.
Model-Specific Cleaning Techniques

SR Series Standard Models
These workhorses feature dishwasher-safe inner pots (top rack only). The steam vent cap twists off counterclockwise for monthly cleaning—soak all components overnight for heavy buildup. The condensation collector slides out smoothly from the rear; check for warping that prevents proper reseating.
Fuzzy Logic Models
Disassemble the complex lid system per your manual—these often have hidden sensors requiring cotton swab cleaning. Never force components; if parts resist removal, consult Panasonic’s video tutorials. The inner lid assembly typically has 5+ pieces; label them with masking tape during disassembly.
Induction Models
Require absolute dryness—wipe the induction heating area with a cloth dampened only with isopropyl alcohol. Never use vinegar solutions near induction coils. Clean ventilation slots weekly with a soft brush—dust here disrupts magnetic field efficiency.
Preventive Maintenance Schedule for Peak Performance
After Every Use (2-Minute Routine)
- Empty and rinse the inner pot immediately
- Wipe the heating plate dry while warm
- Slide out and empty the condensation collector
- Leave the lid ajar for 30 minutes to air-dry
Weekly Deep Clean (15 Minutes)
- Remove and wash all detachable lid components
- Clean steam vents with a toothpick
- Wipe interior chamber with vinegar-dampened cloth
- Check gaskets for cracks or food debris
Monthly Inspection Points
- Deep clean condensation collector with bleach solution
- Test lid seal integrity by closing on a dollar bill (should resist pulling)
- Clean power cord connections with dry cotton swab
- Verify no rice grains are lodged in hinge mechanisms
Troubleshooting Stubborn Cleaning Issues
Burnt Rice That Won’t Budge
Fill the pot with warm water and 1 drop of dish soap. Bring to a gentle simmer on your stovetop for 10 minutes (do not boil). Cool completely before washing—this loosens even decade-old carbonized rice without damaging coatings. Never use metal scrapers—opt for a soft plastic rice paddle edge.
White Mineral Deposits from Hard Water
Mix equal parts white vinegar and water in the pot. Soak for 20 minutes for light buildup, up to 2 hours for heavy deposits. Rinse 3x with clean water and run one empty cook cycle to eliminate vinegar taste. For persistent spots, apply lemon juice directly and let sit 10 minutes before rinsing.
Lingering Odors After Cleaning
Place 2 tablespoons of activated charcoal in a small bowl inside the cooker (no lid). Leave for 48 hours to absorb odors—far more effective than baking soda for stubborn smells. Never store your cooker with the lid fully closed; leave it slightly ajar with a charcoal packet inside.
A meticulously cleaned Panasonic rice cooker delivers fluffier rice 30% faster while doubling its lifespan. Implement the 2-minute after-use routine religiously—your future self will enjoy perfectly cooked jasmine rice for years. For immediate odor emergencies, run the vinegar steam treatment tonight and wake up to a fresh-smelling kitchen. Bookmark this guide for your next monthly deep clean, and your Panasonic will reward you with flawless performance through every grain.


